Setting Up Claude Code in VS Code
-
Go to VS Code and select the
Downloadbutton in the middle of the screen.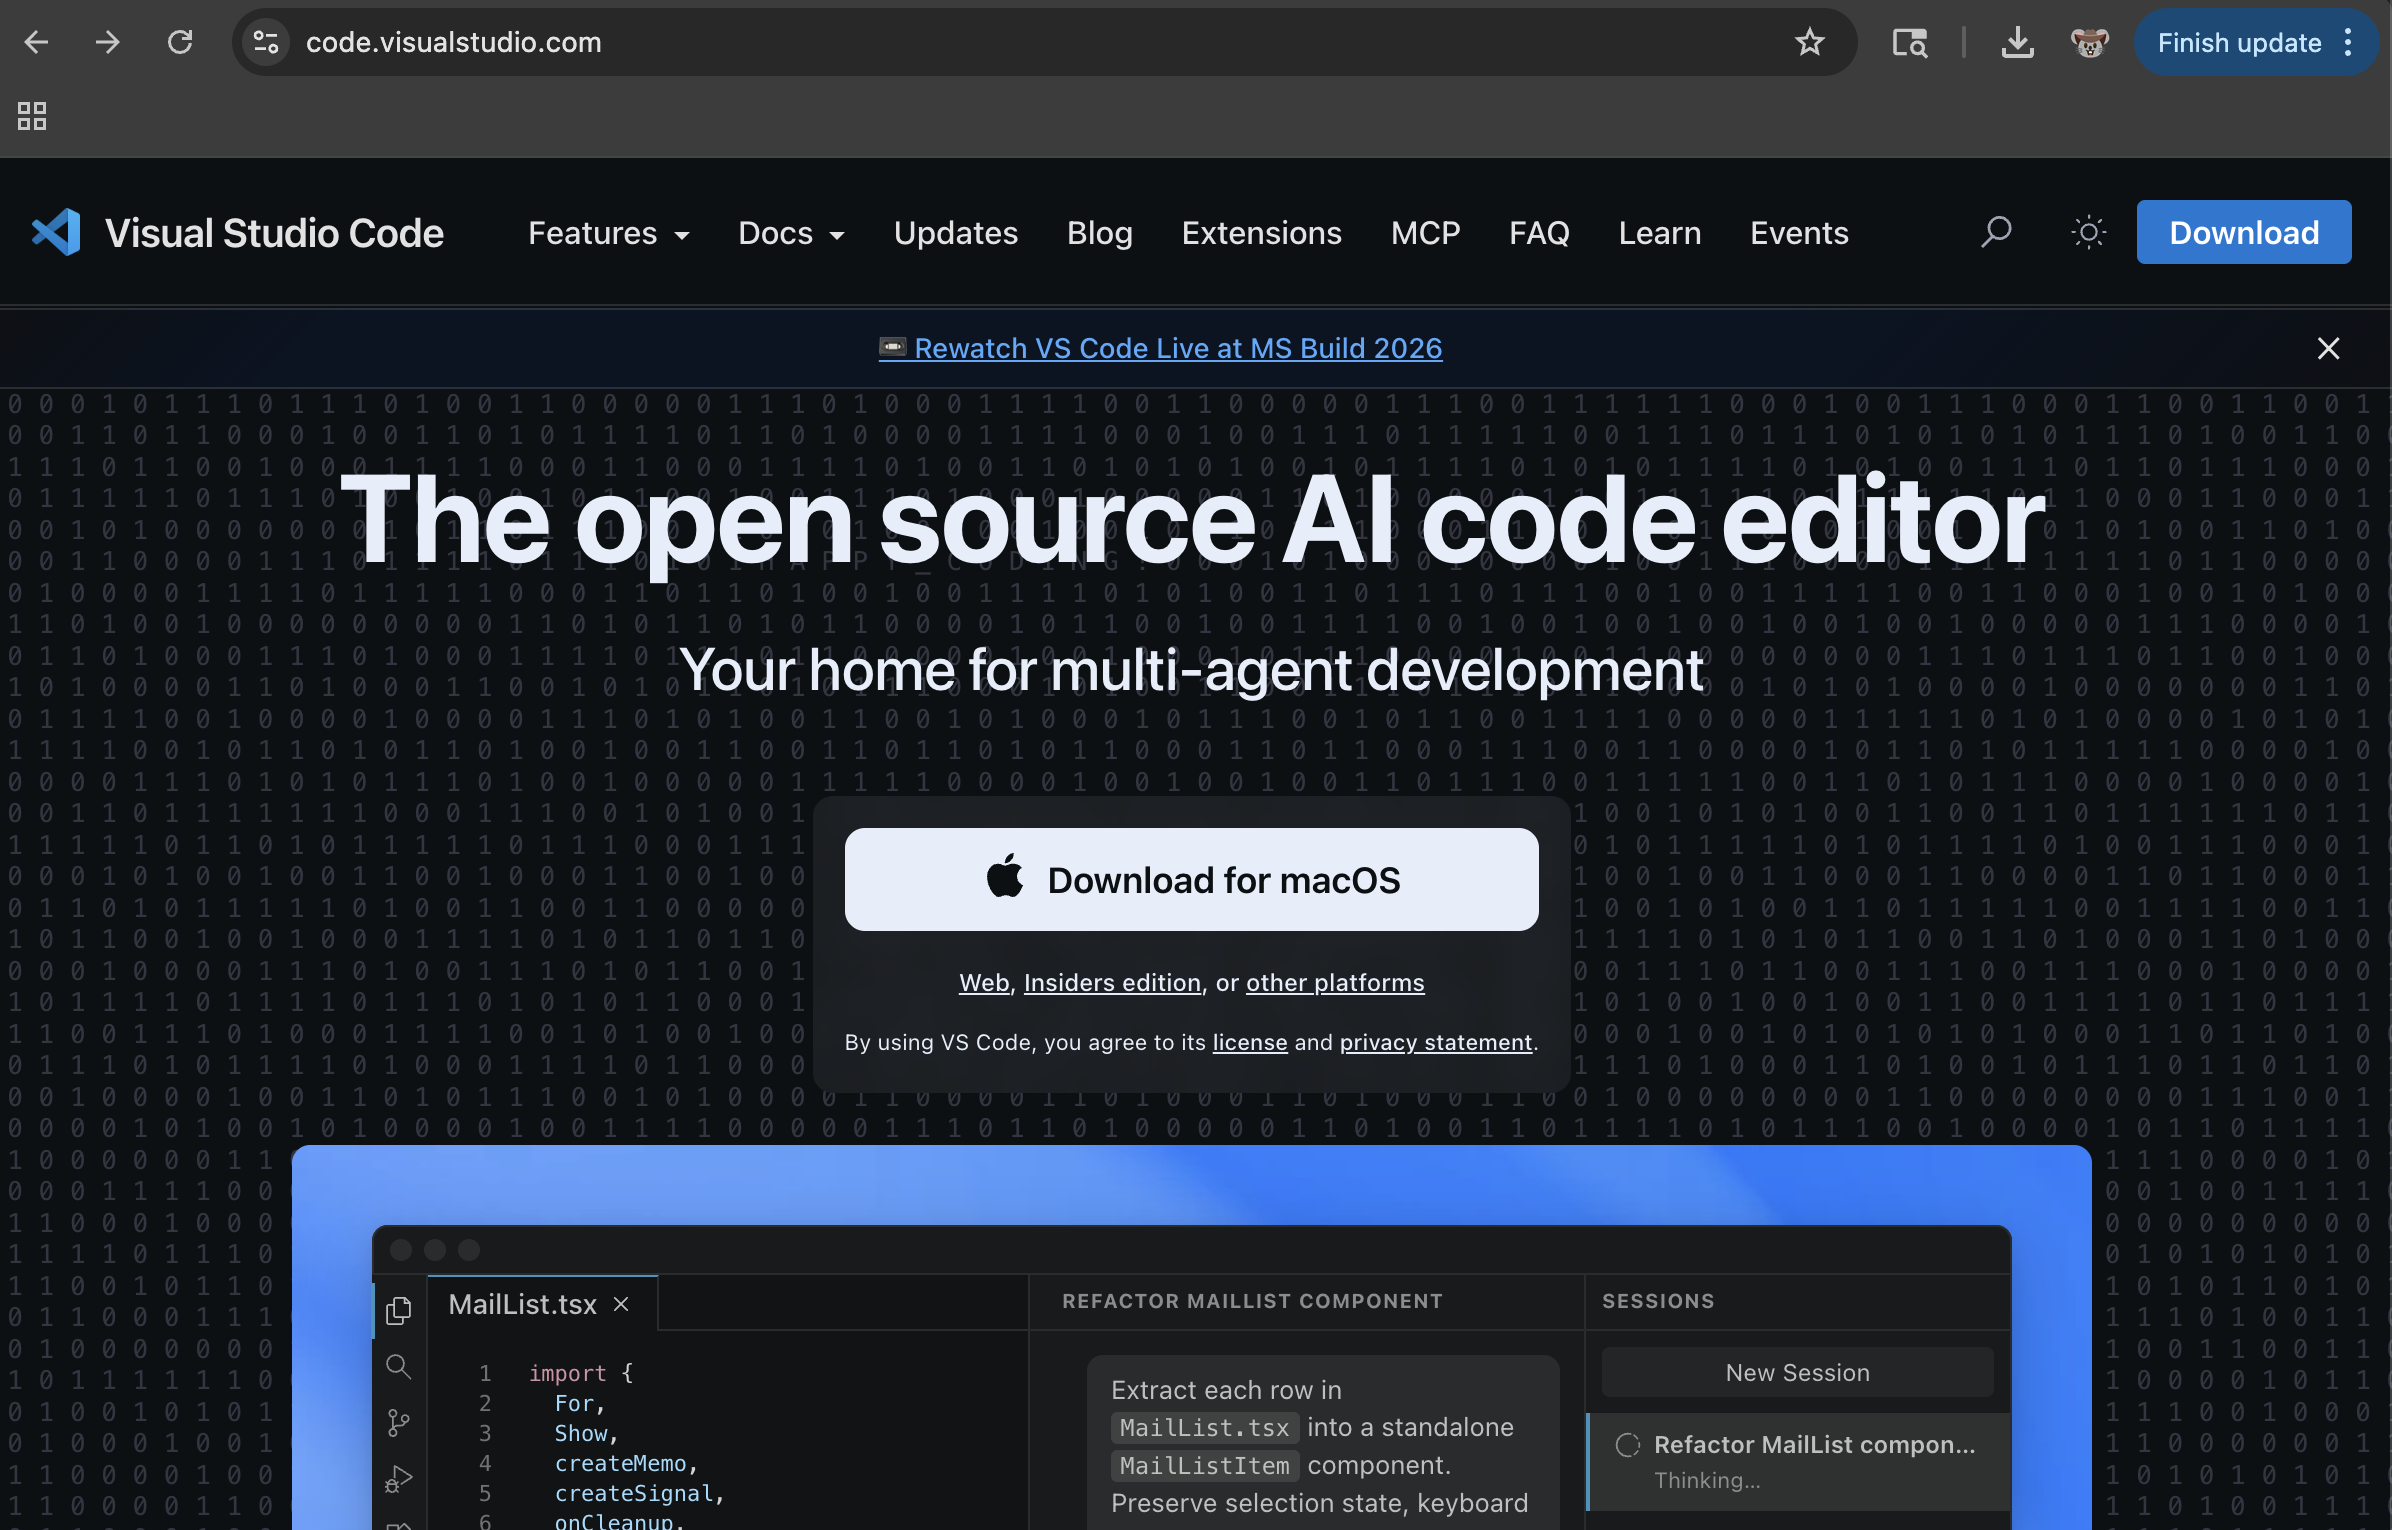
code.visualstudio.com — Download -
Once the file has finished downloading, open your
Downloadsfolder and double-click on the fileVSCode-darwin-arm64.dmg. A pop-up window should appear like the one below (for Mac):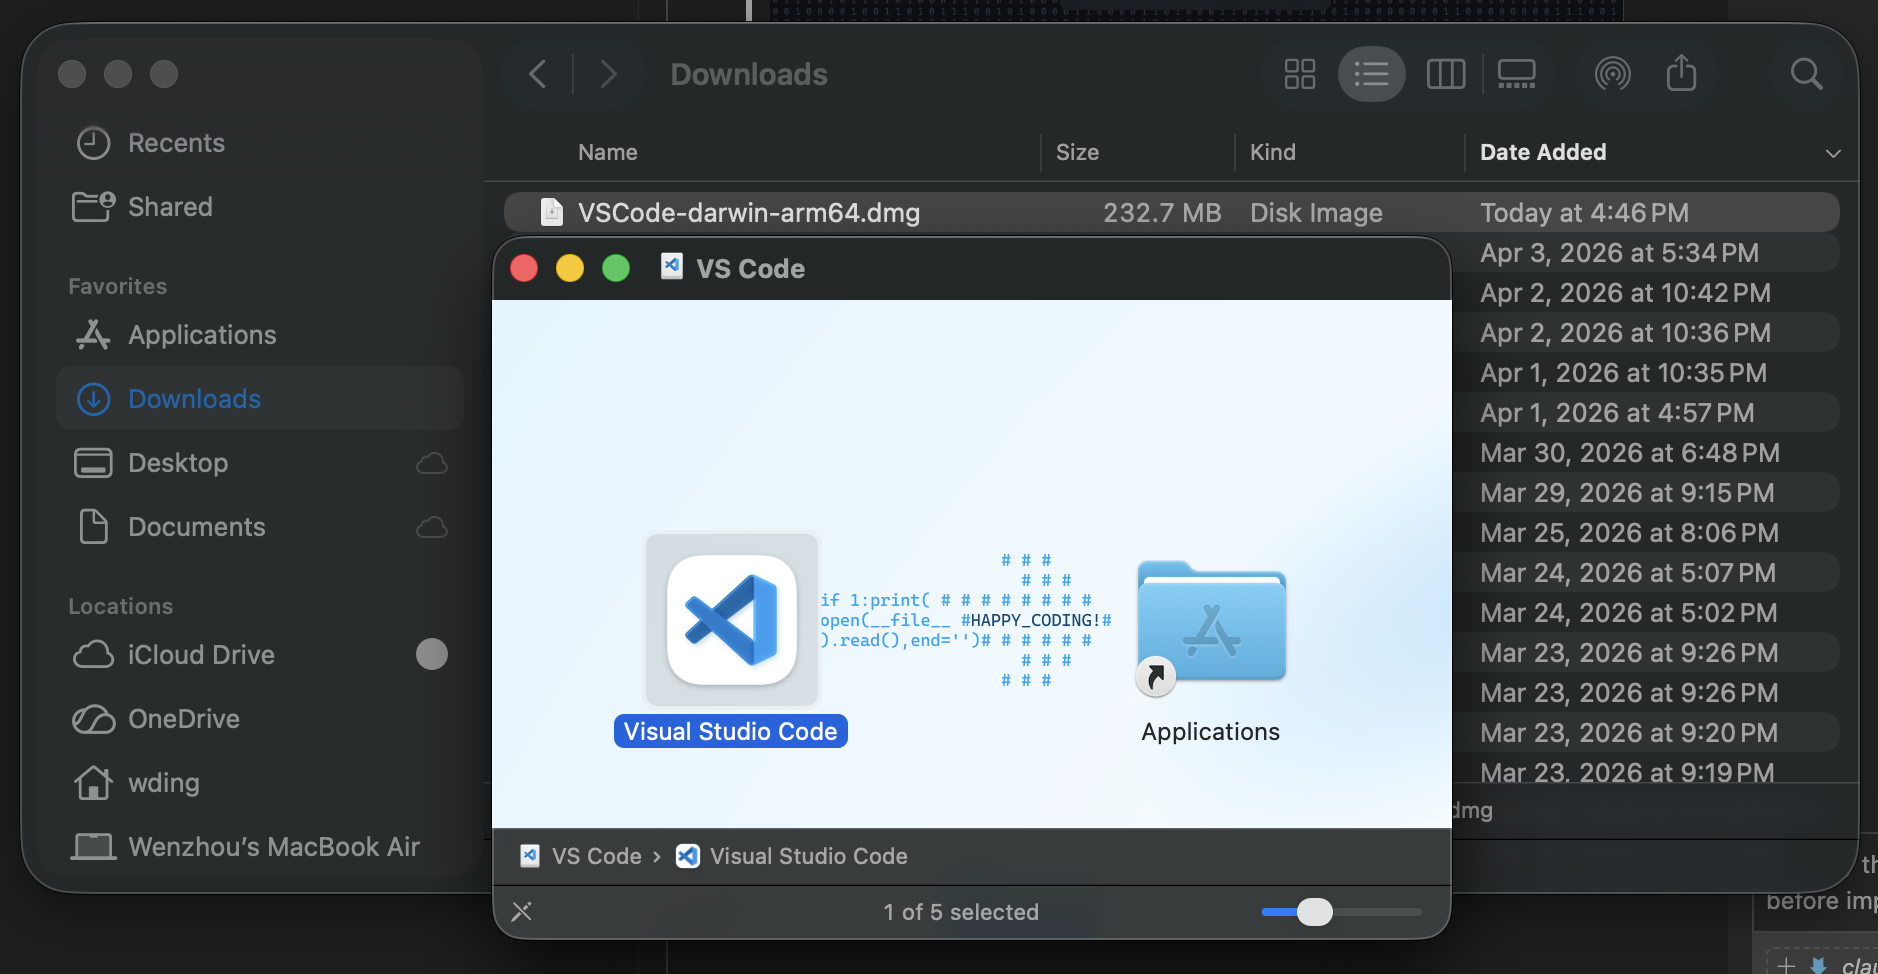
Installer window (macOS) -
Follow the instructions in the pop-up window. On Mac, drag the
Visual Studio Codeicon into theApplicationsfolder. Bring up the app by searching forVisual Studio Codein Spotlight Search (on Mac) or Windows Search (on Windows).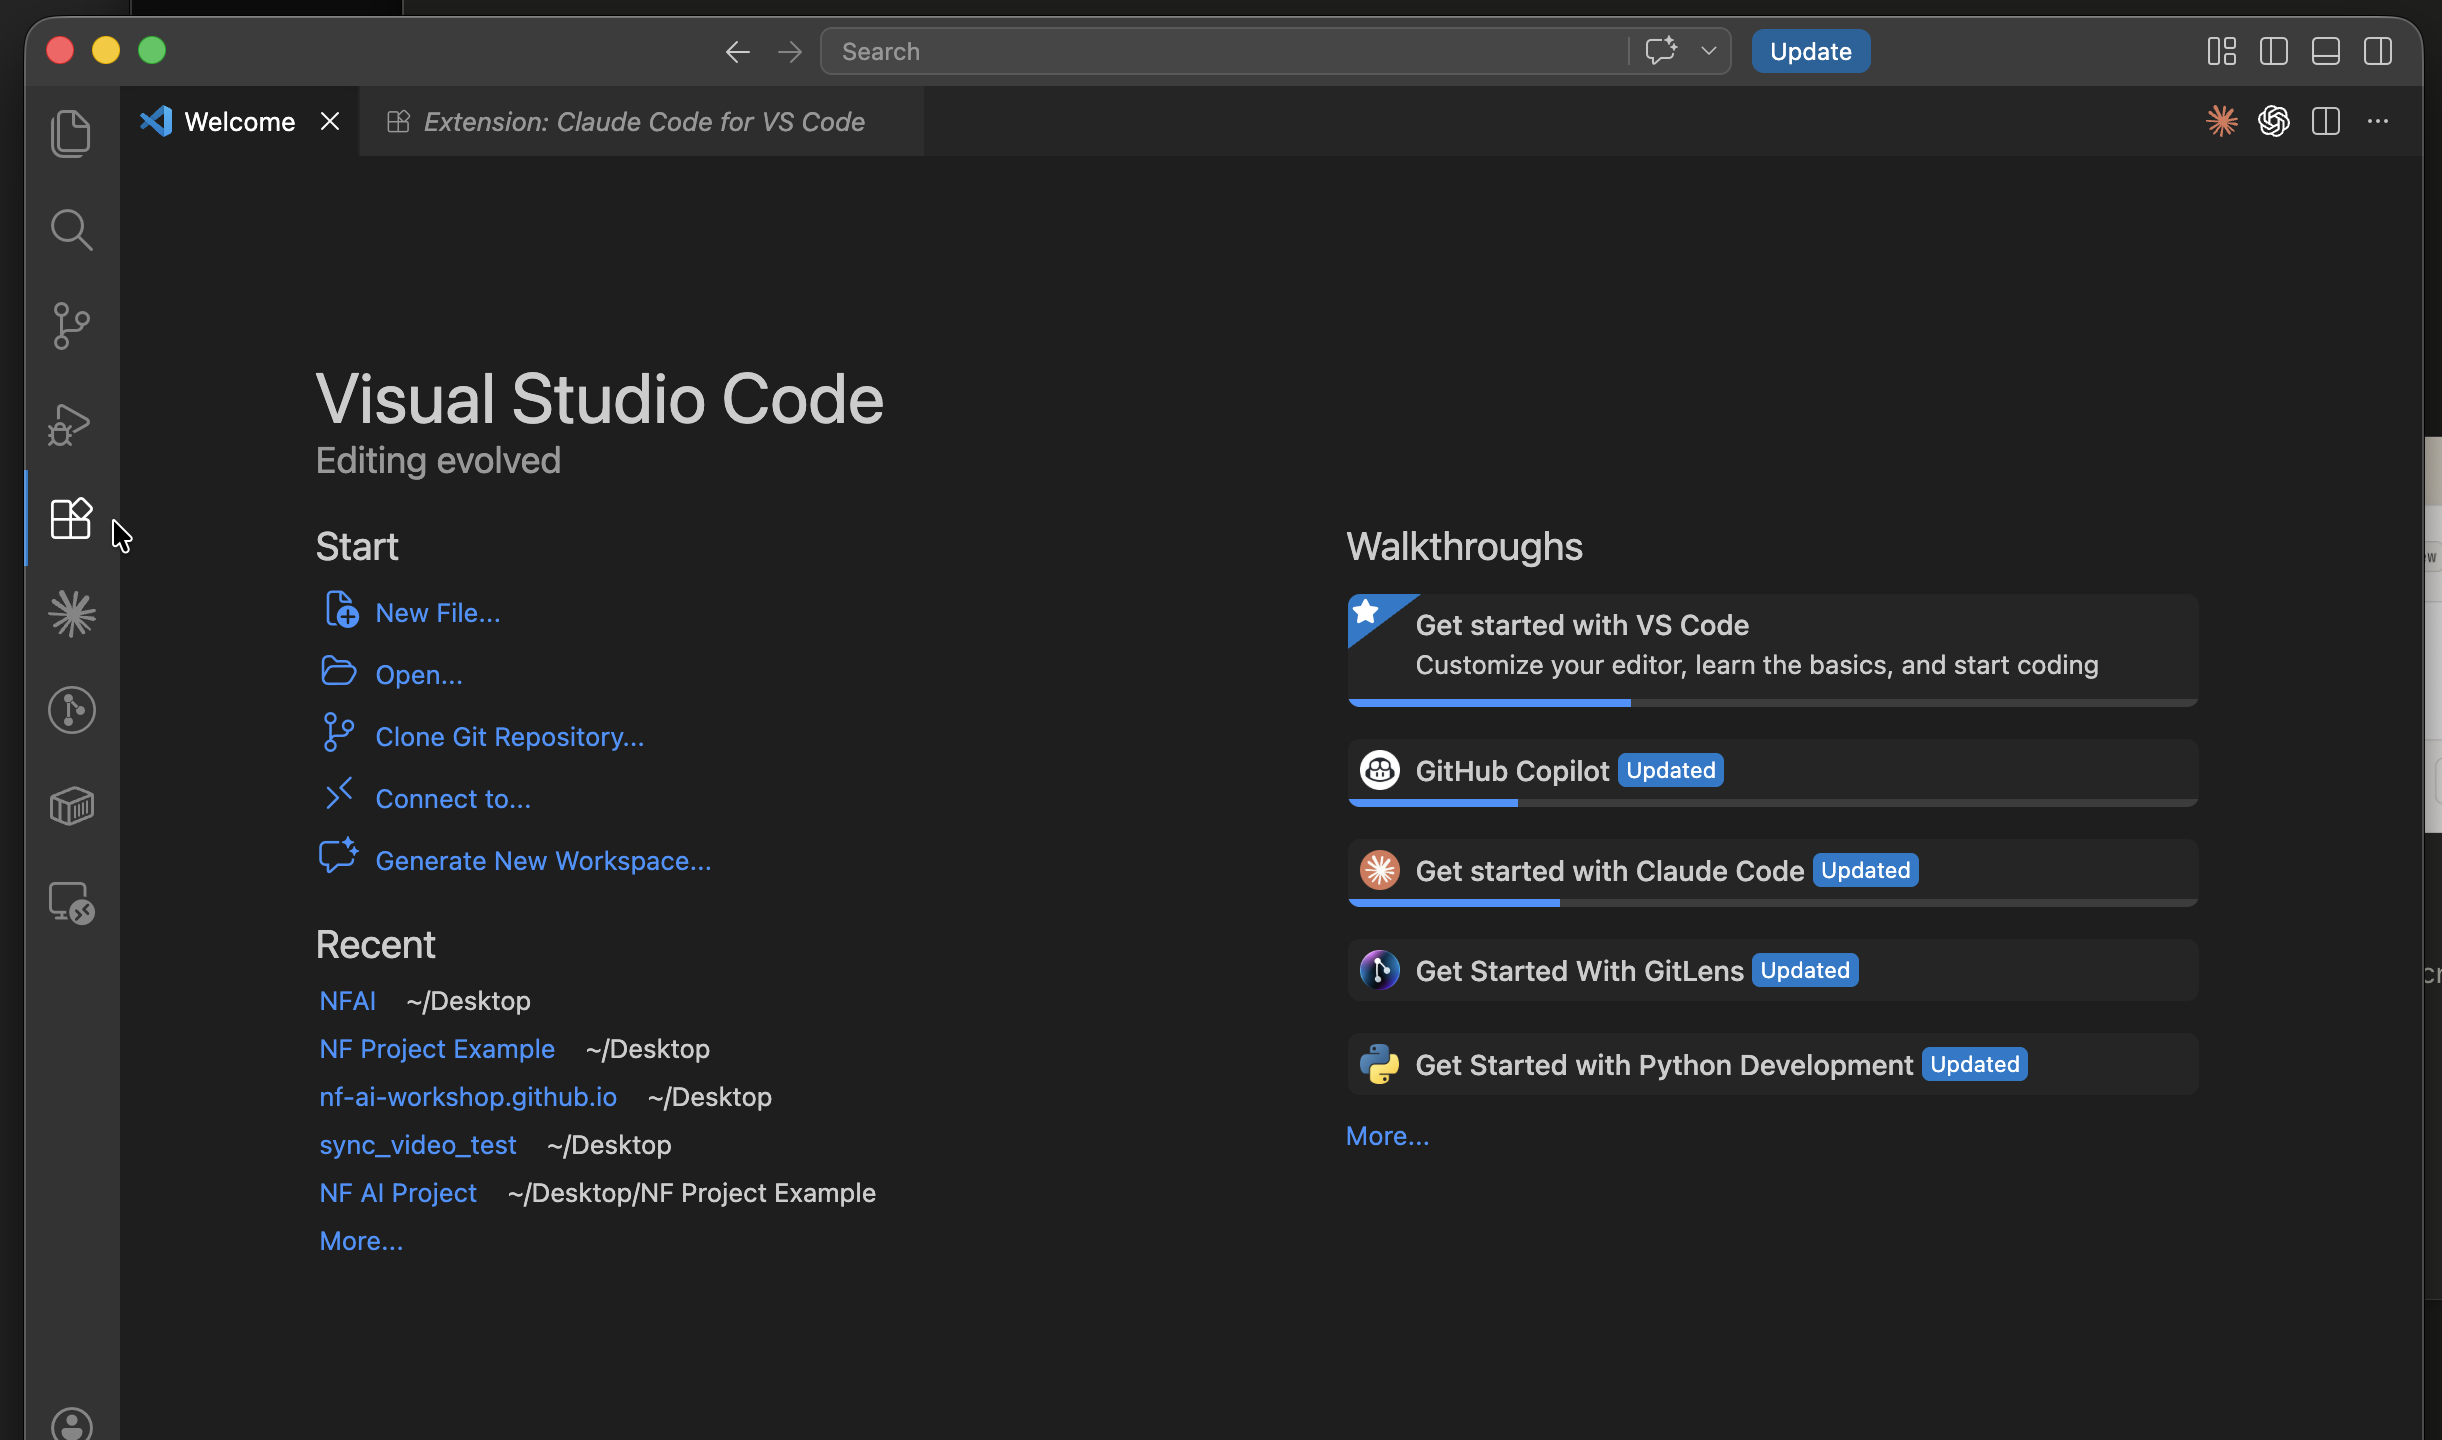
VS Code Welcome screen -
Select the
Extensionsbutton on the left sidebar where the mouse cursor is on the image above. This will pull up a side window where you can search forclaudeand install the extension calledClaude Code for VS Codeas seen in the image below.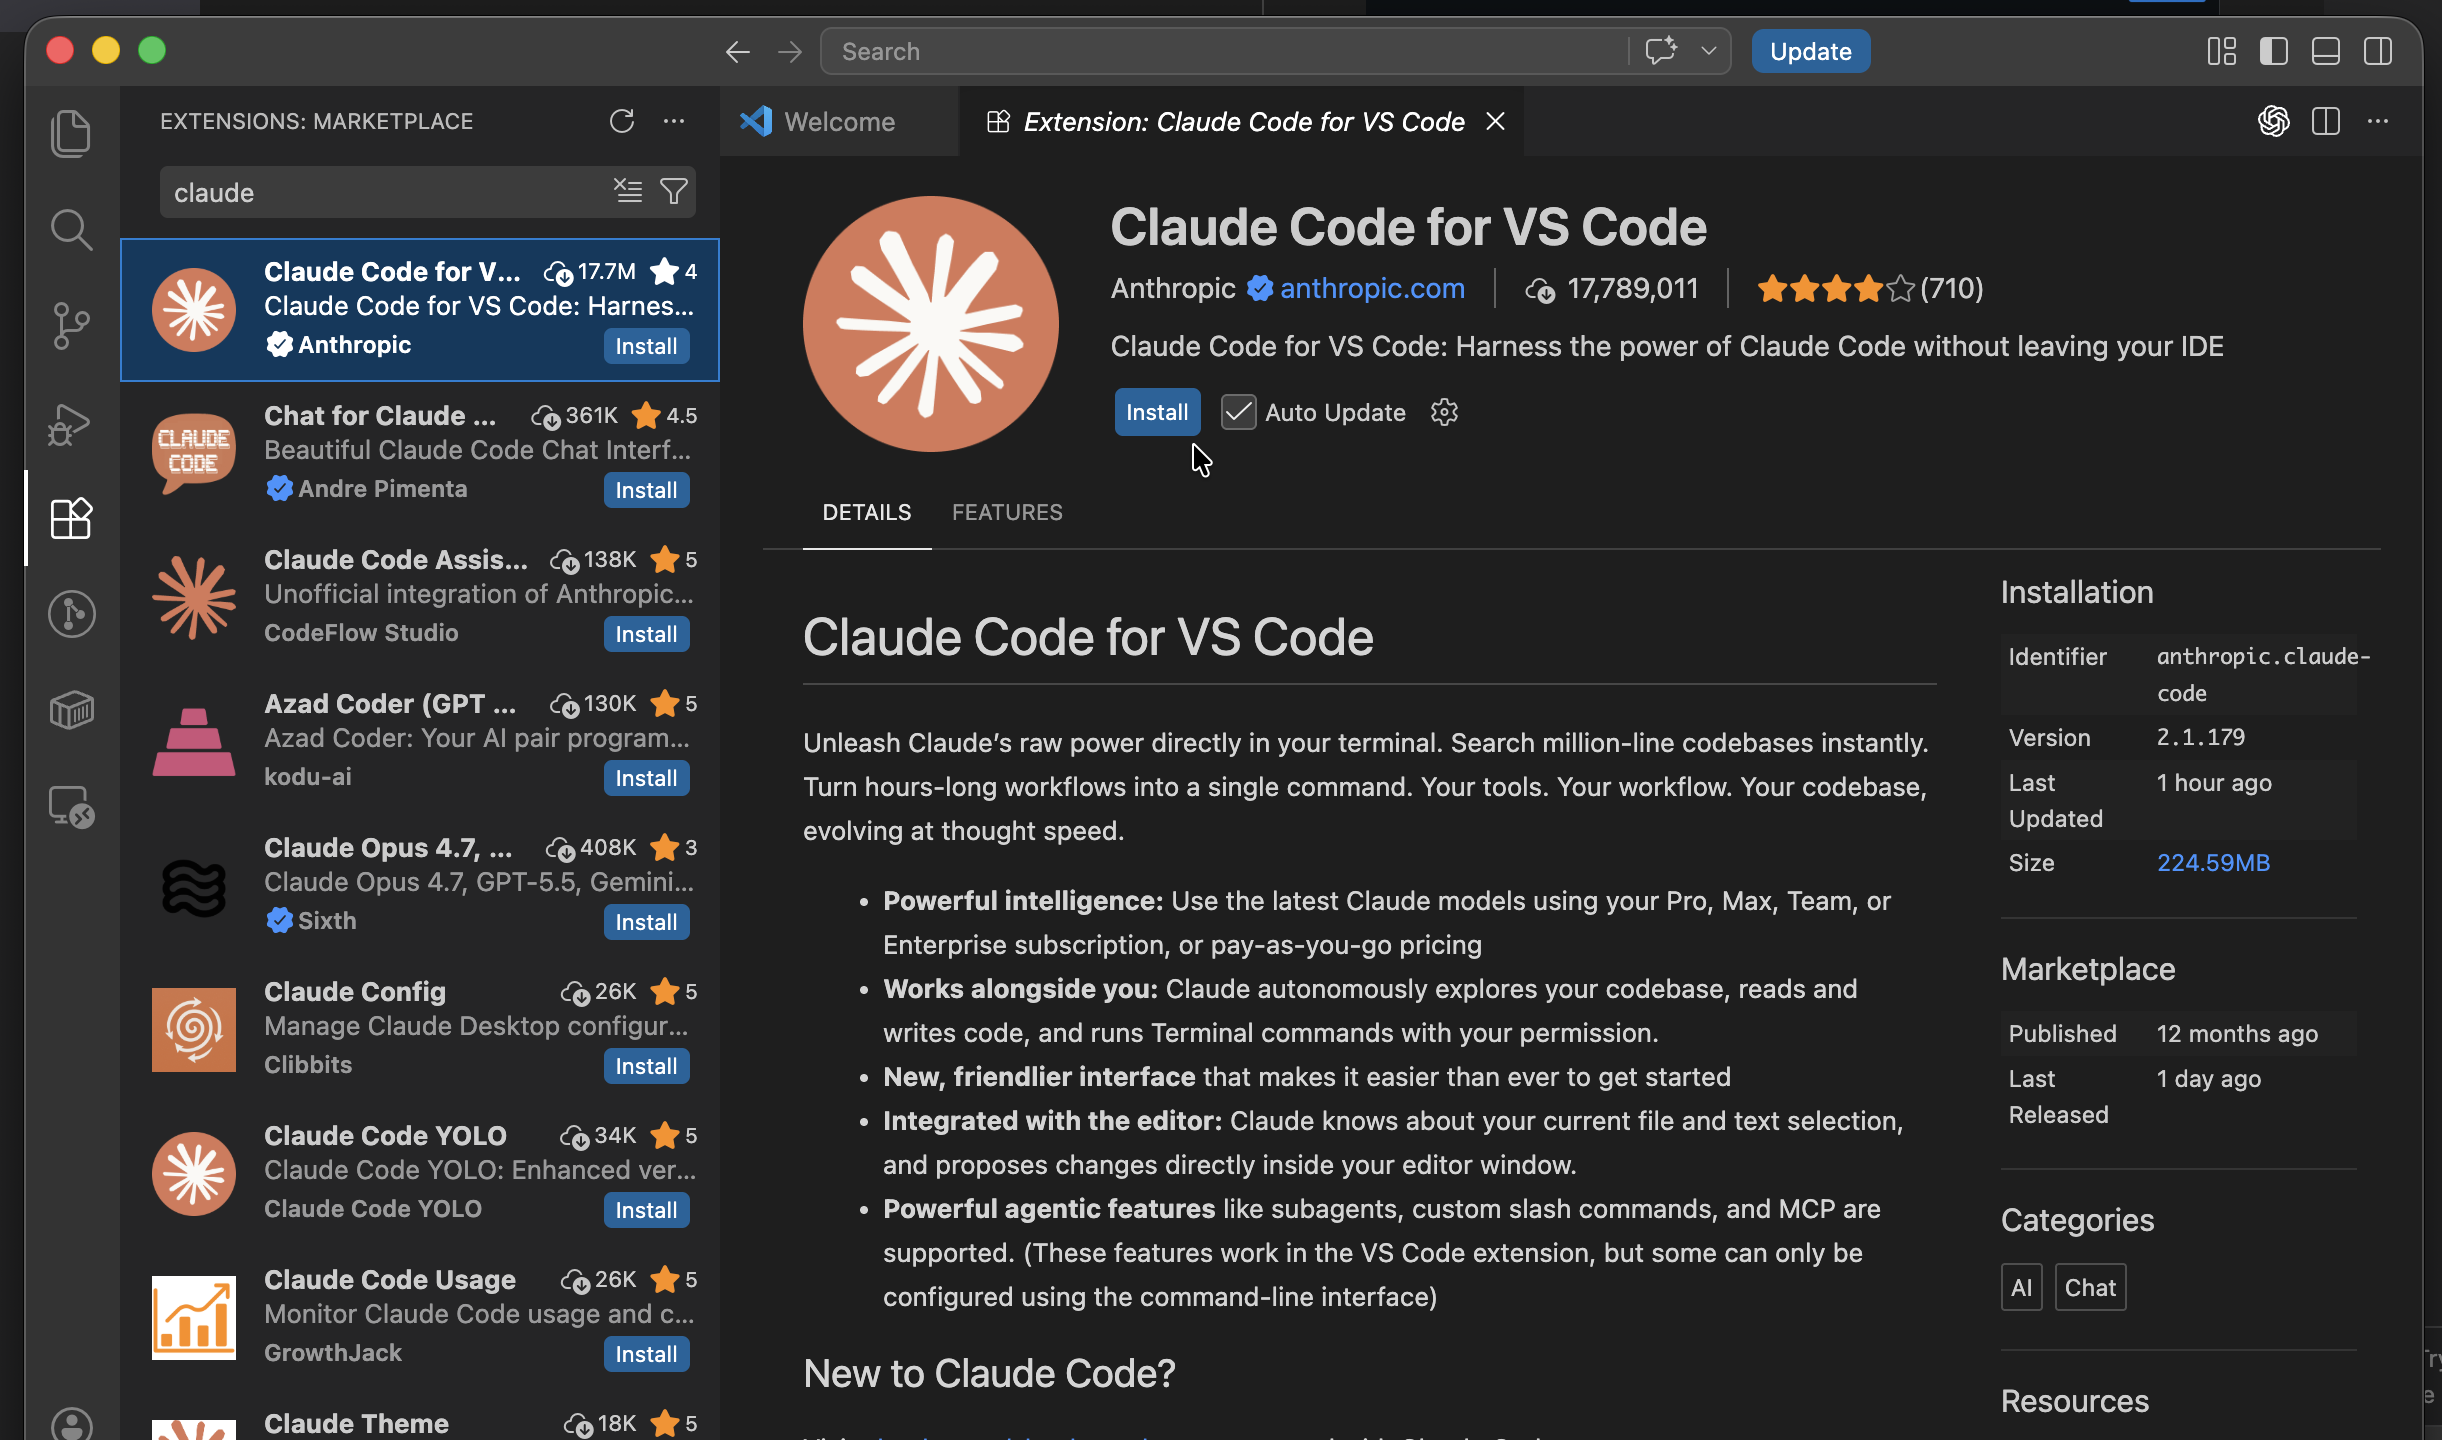
Extensions panel — search “claude” -
Then click the
Claude Codebutton in the top right corner to bring up the extension.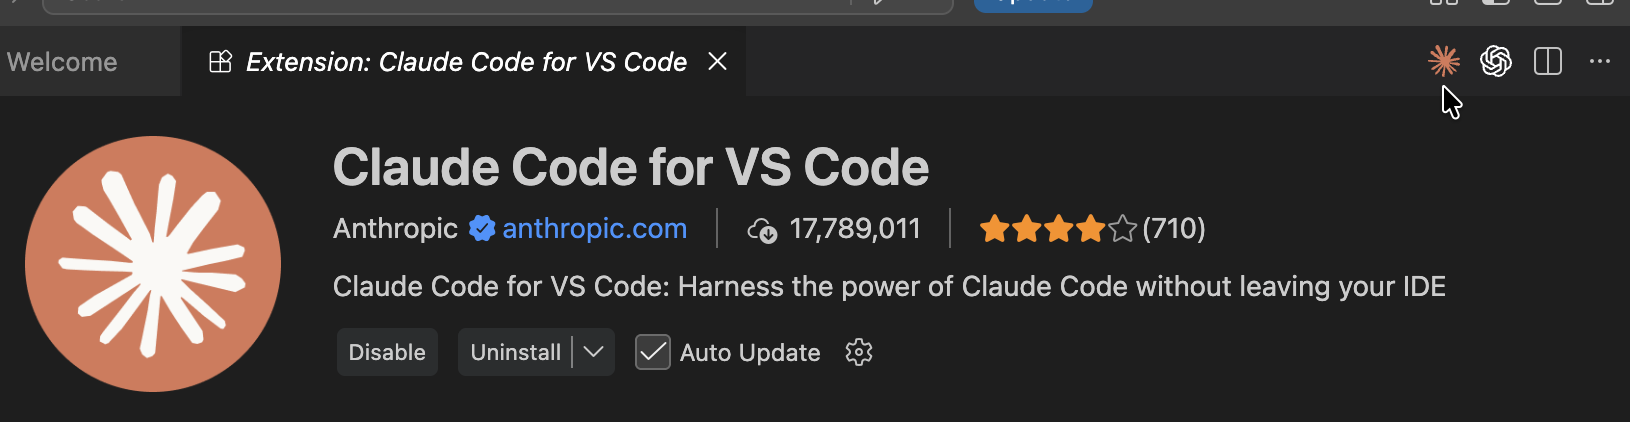
Open the Claude Code panel -
Now you should see something similar to the image below with
Claude Codeon the right window.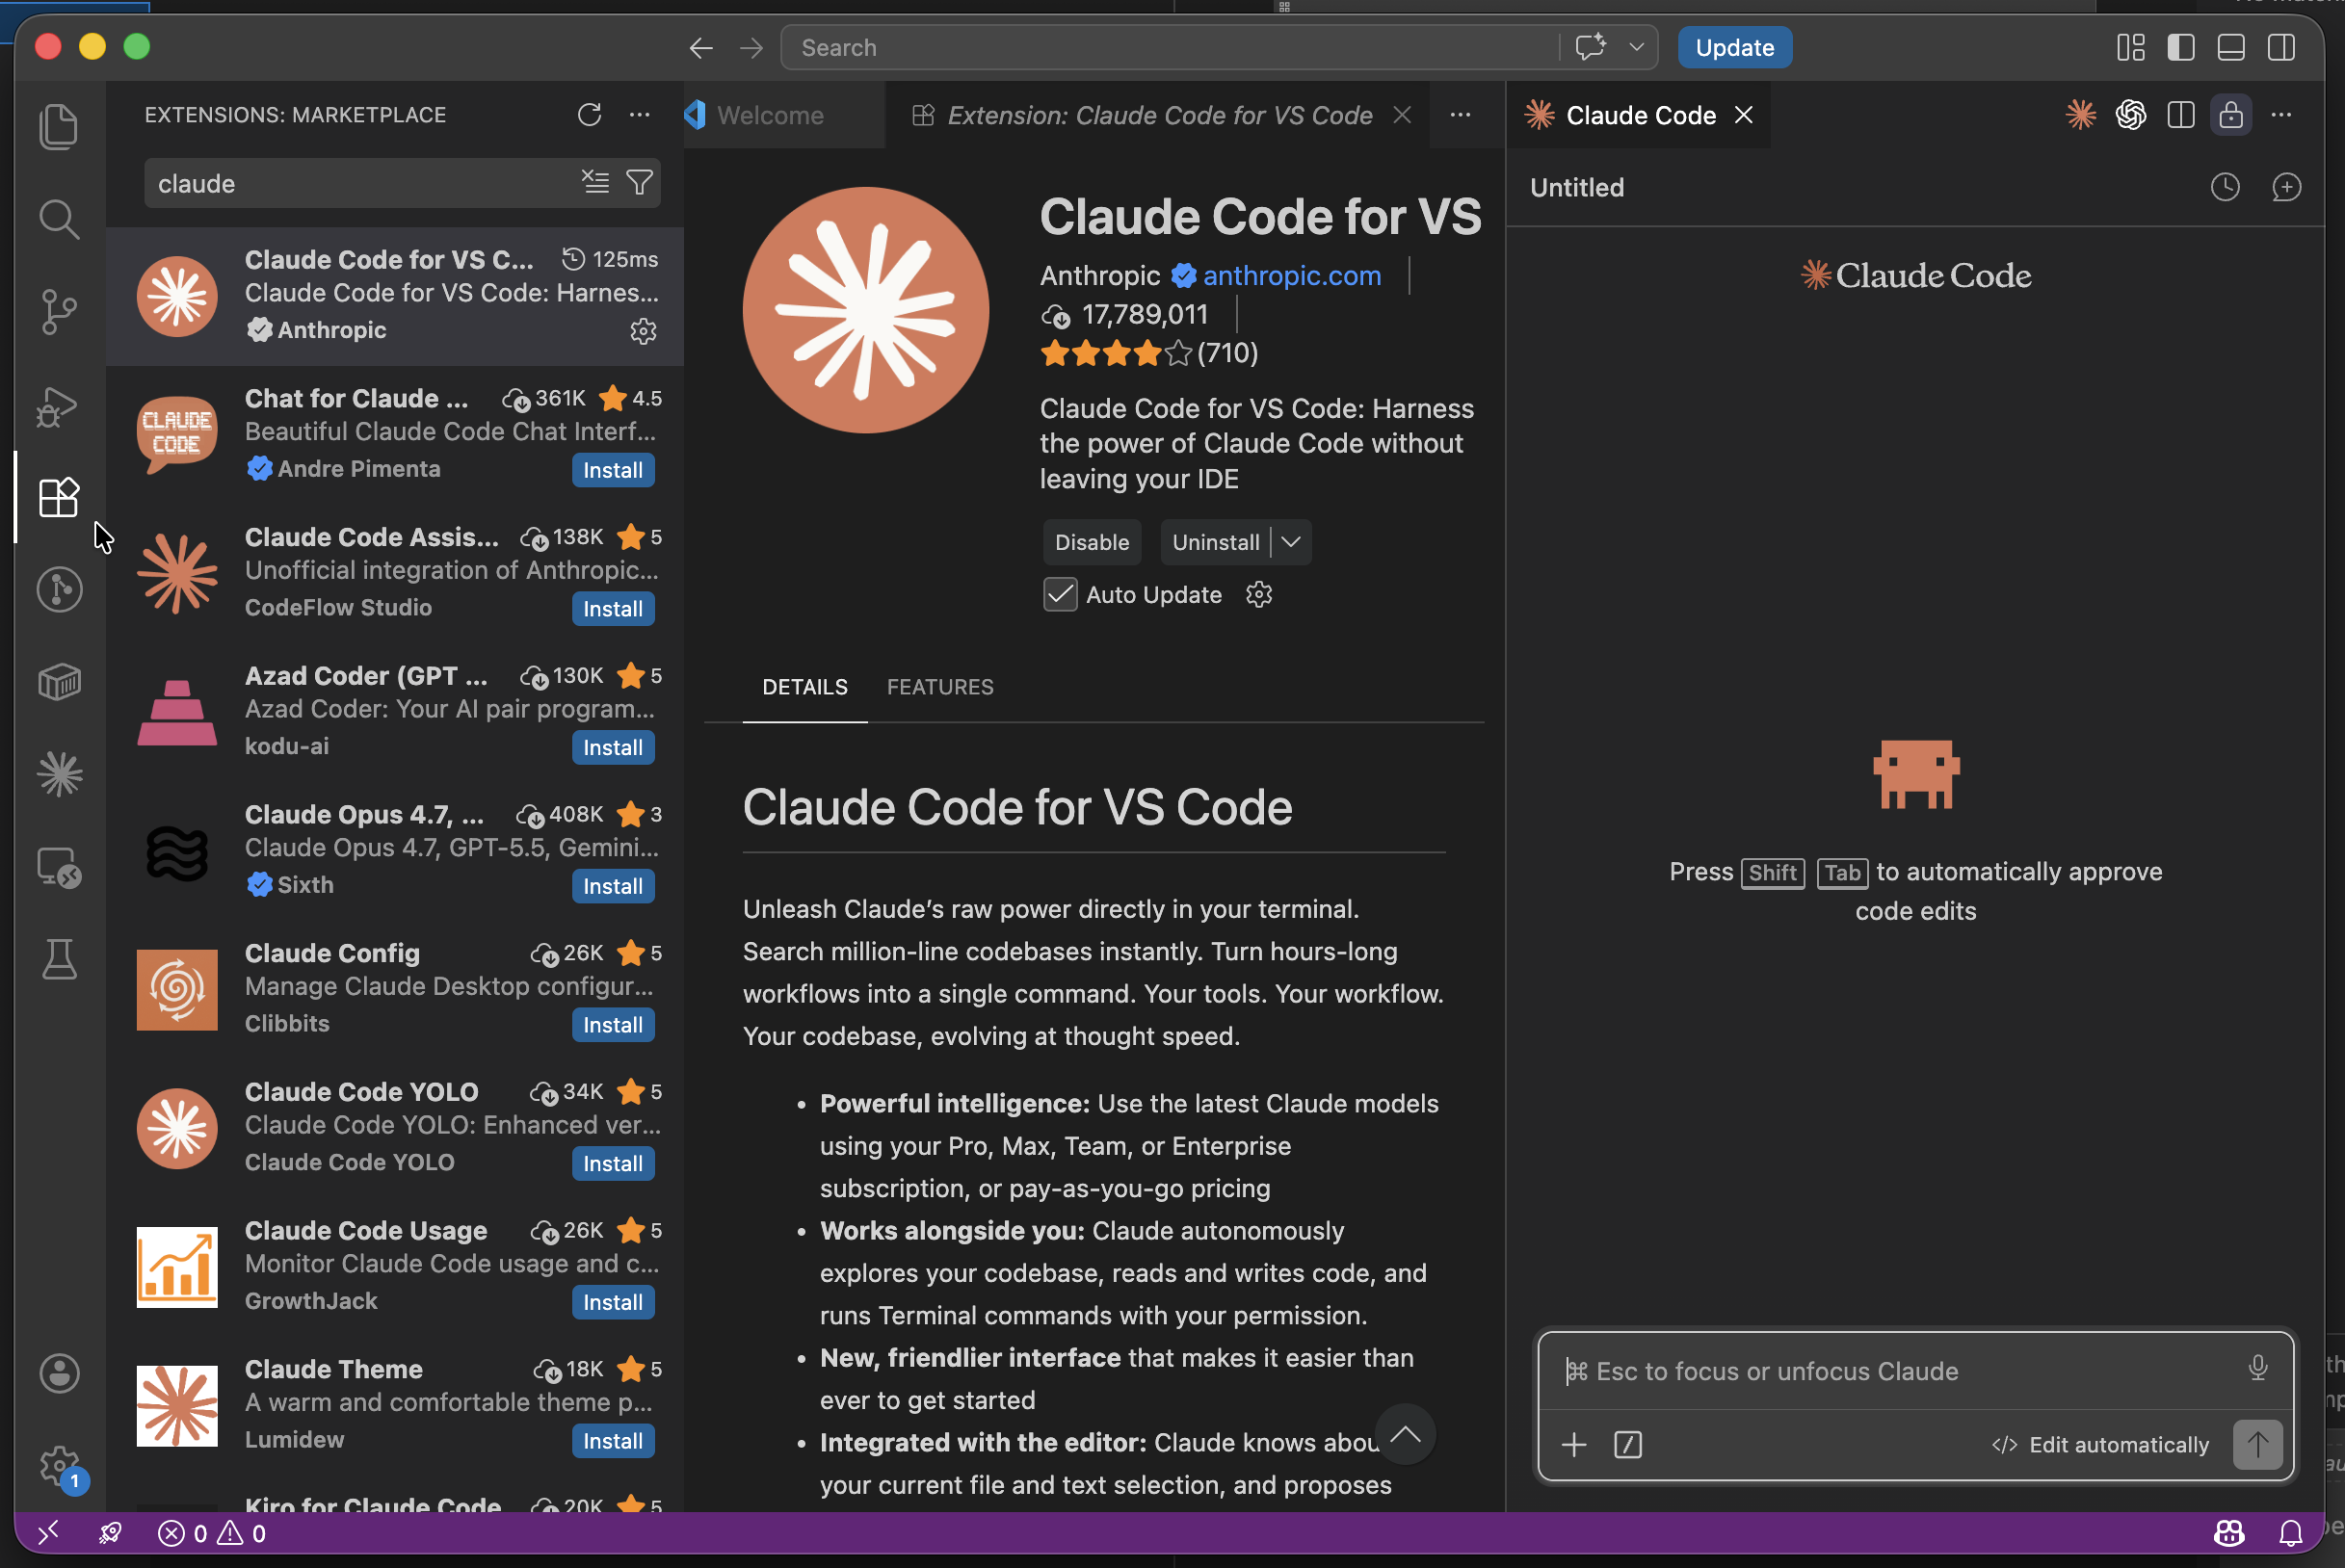
Claude Code, docked on the right -
You can clean up the screen by clicking the
Extensionbutton on the left sidebar again to minimize the window.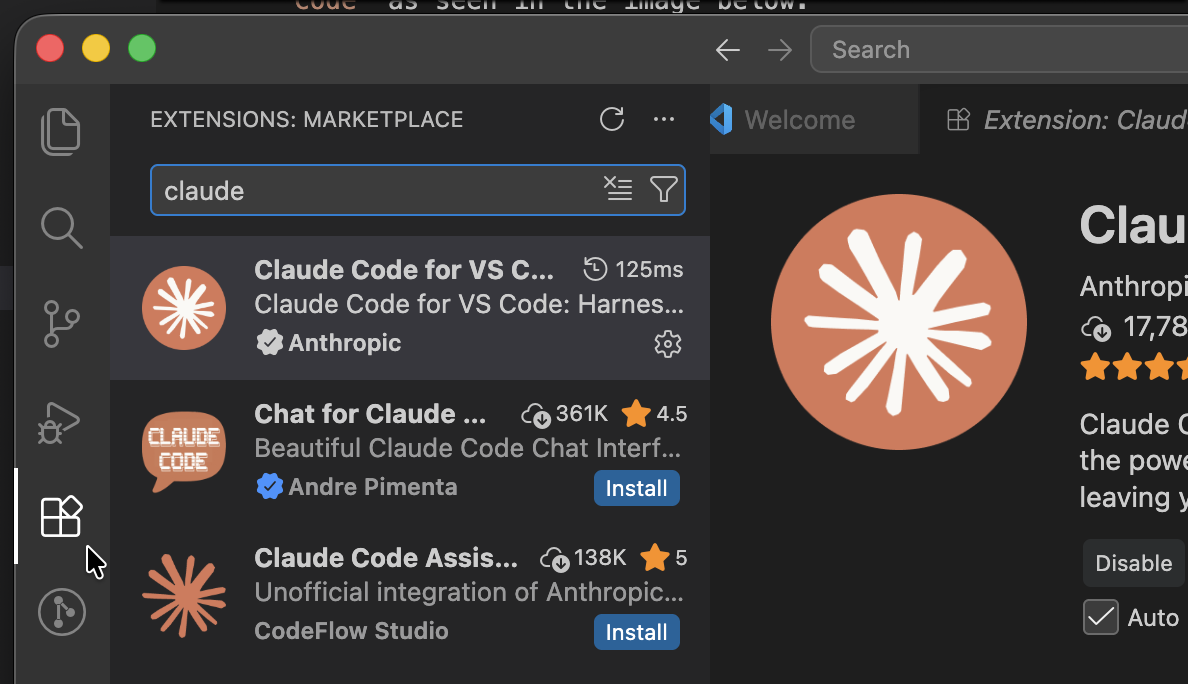
Minimize the Extensions sidebar -
And close the
Extension: Claude Code for VS Codewindow by clicking theXbutton on the top menu.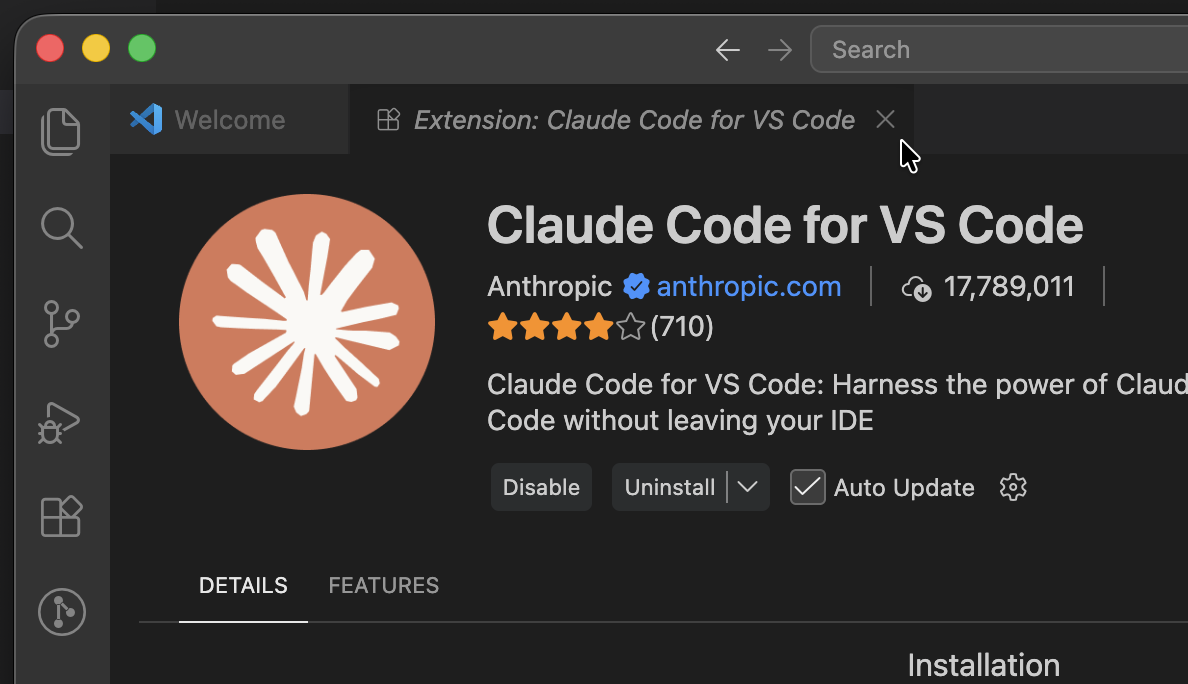
Close the extension tab -
Your screen should look similar to below.
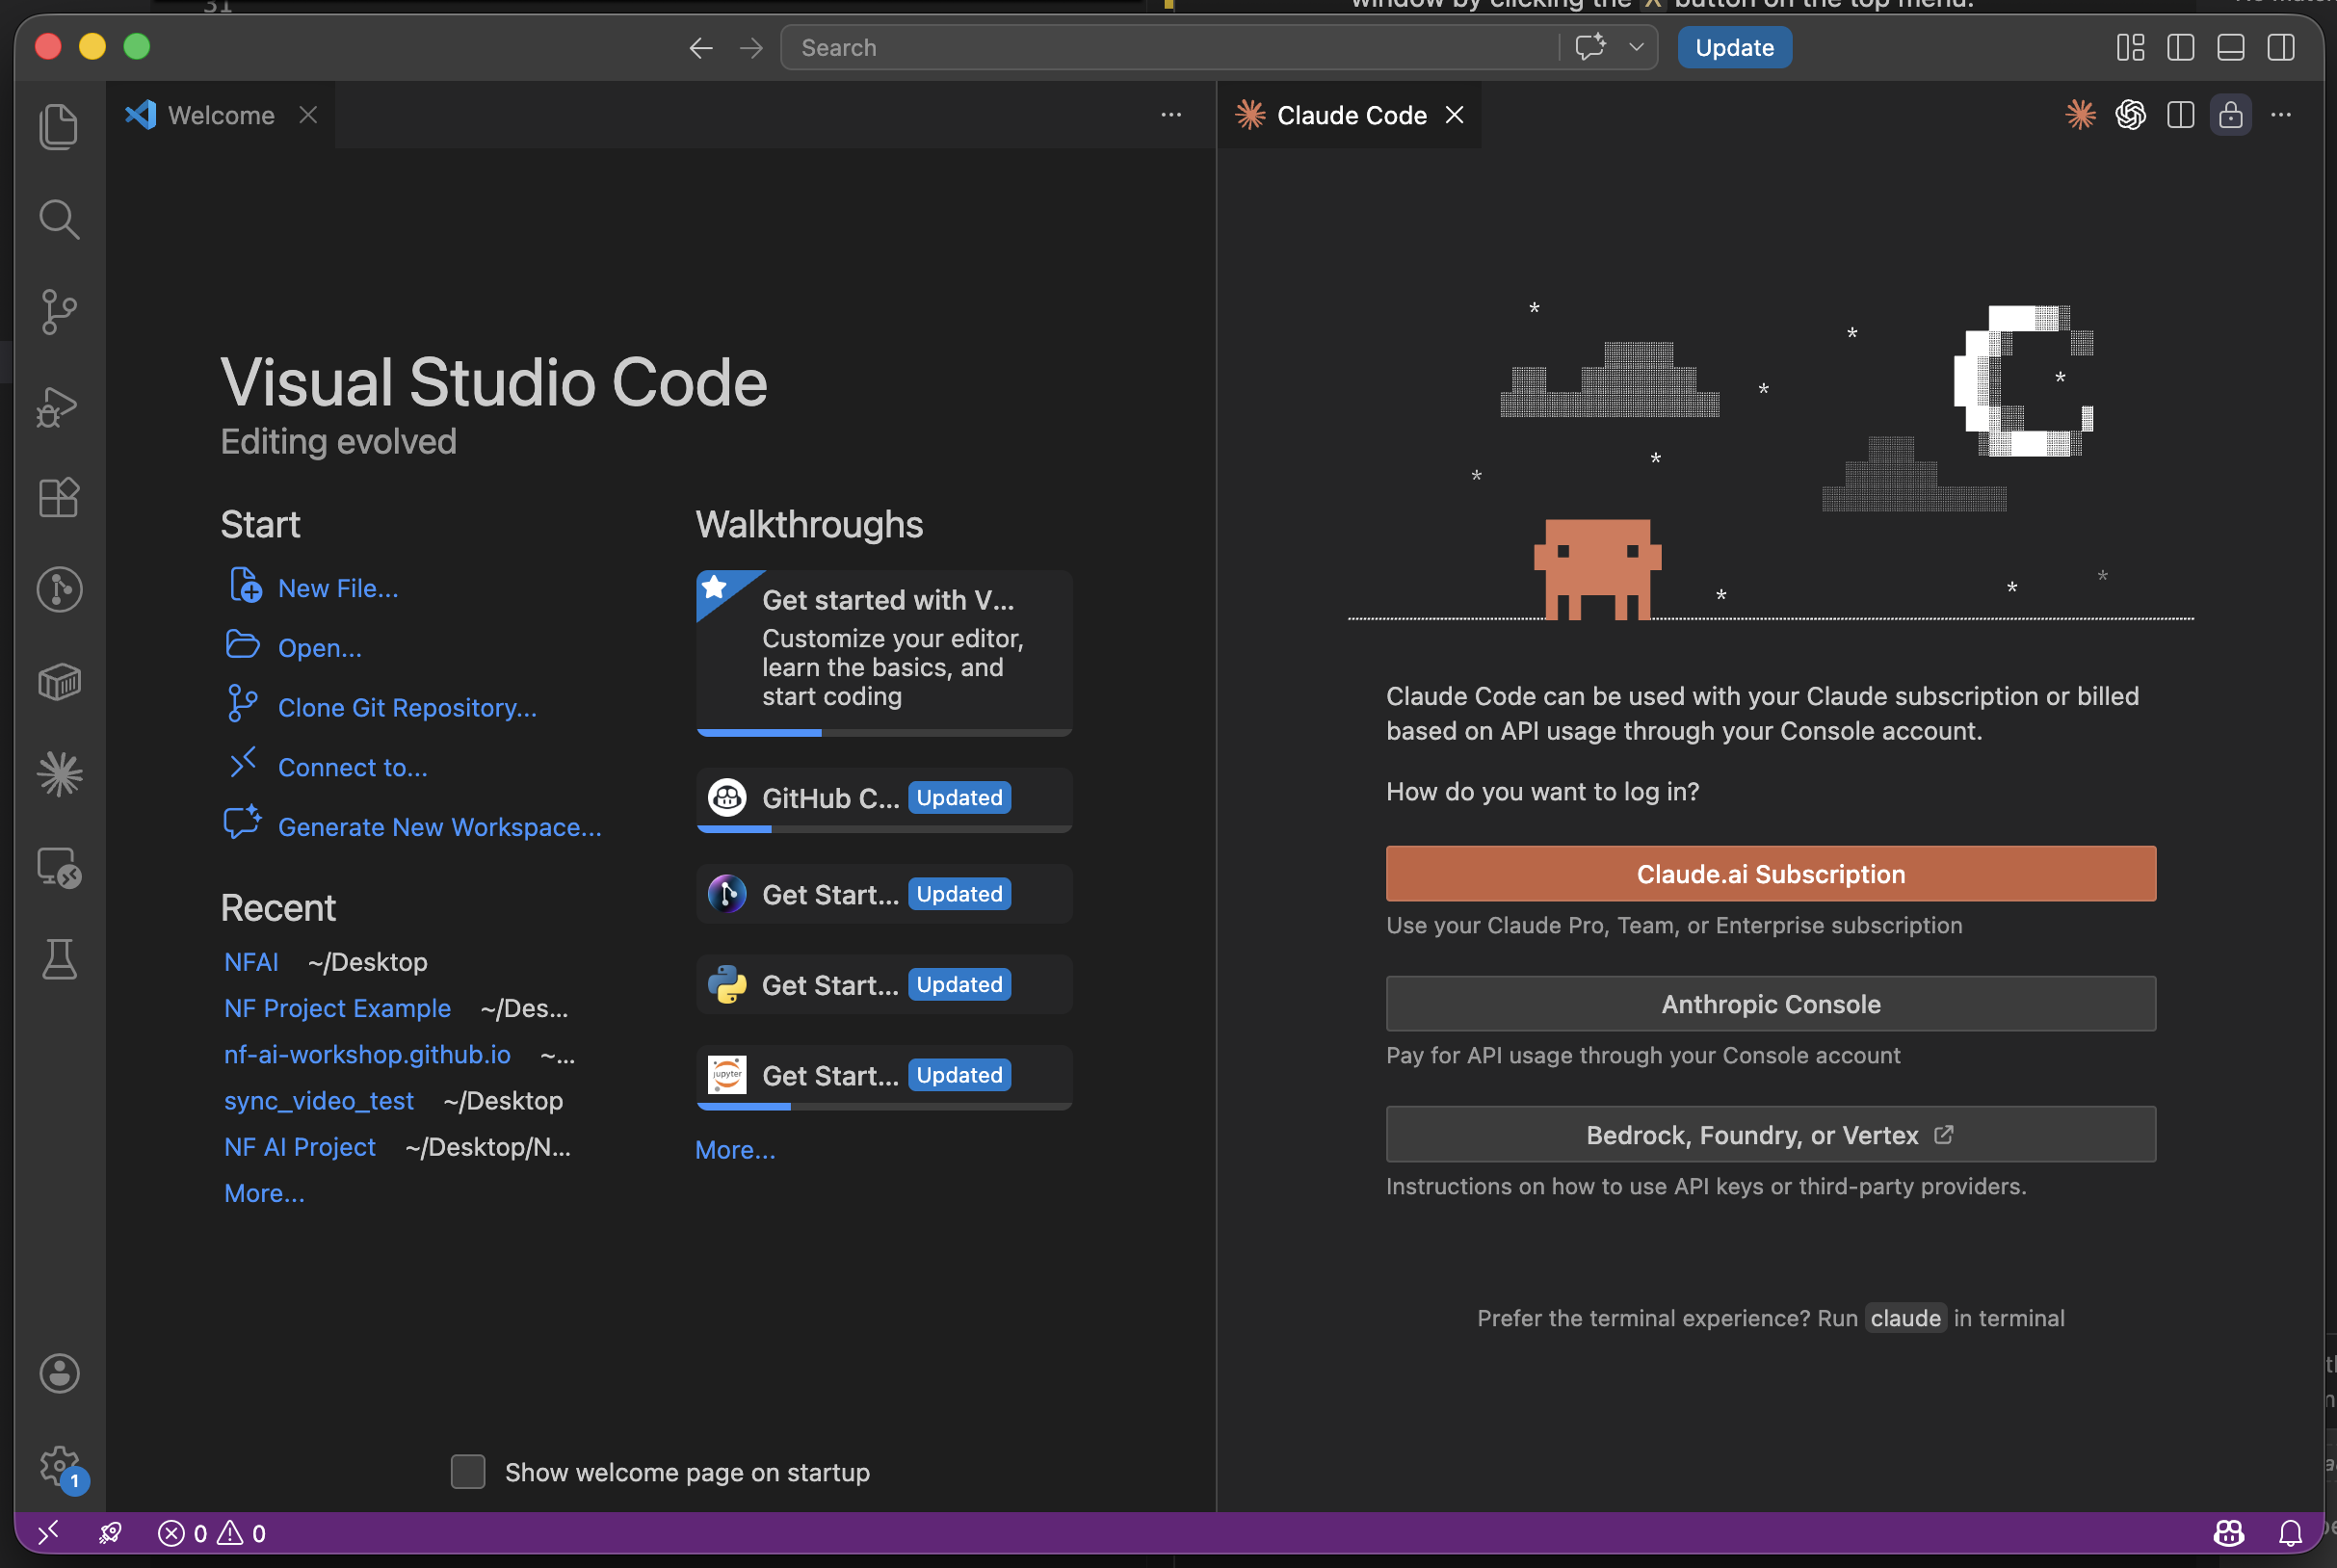
A clean workspace -
In
Claude Code, click login withAnthropic Consoleand allow the pop-up window to open.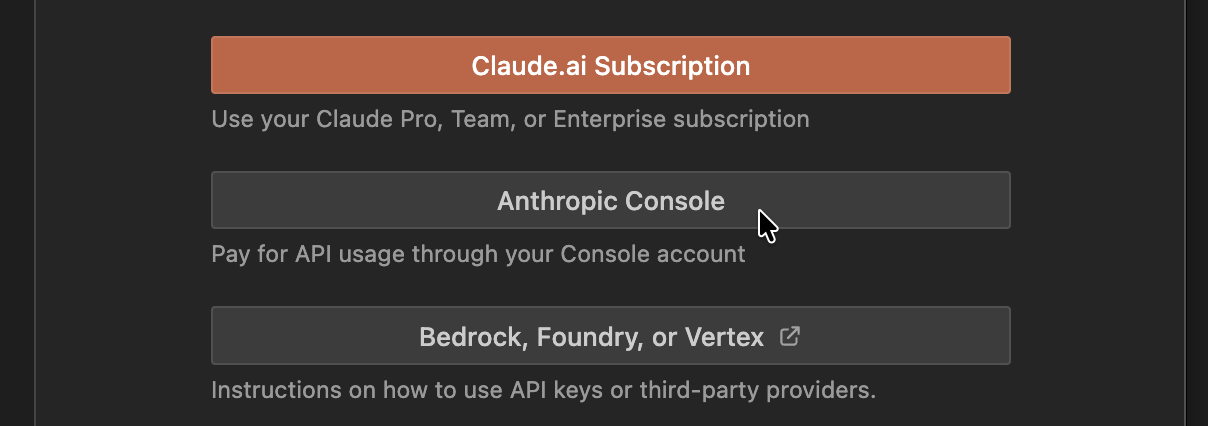
Log in with Anthropic Console -
This will pull up a login page on your browser like the one below. Login with the email you used to register for the workshop, and follow the login instructions on the screen.
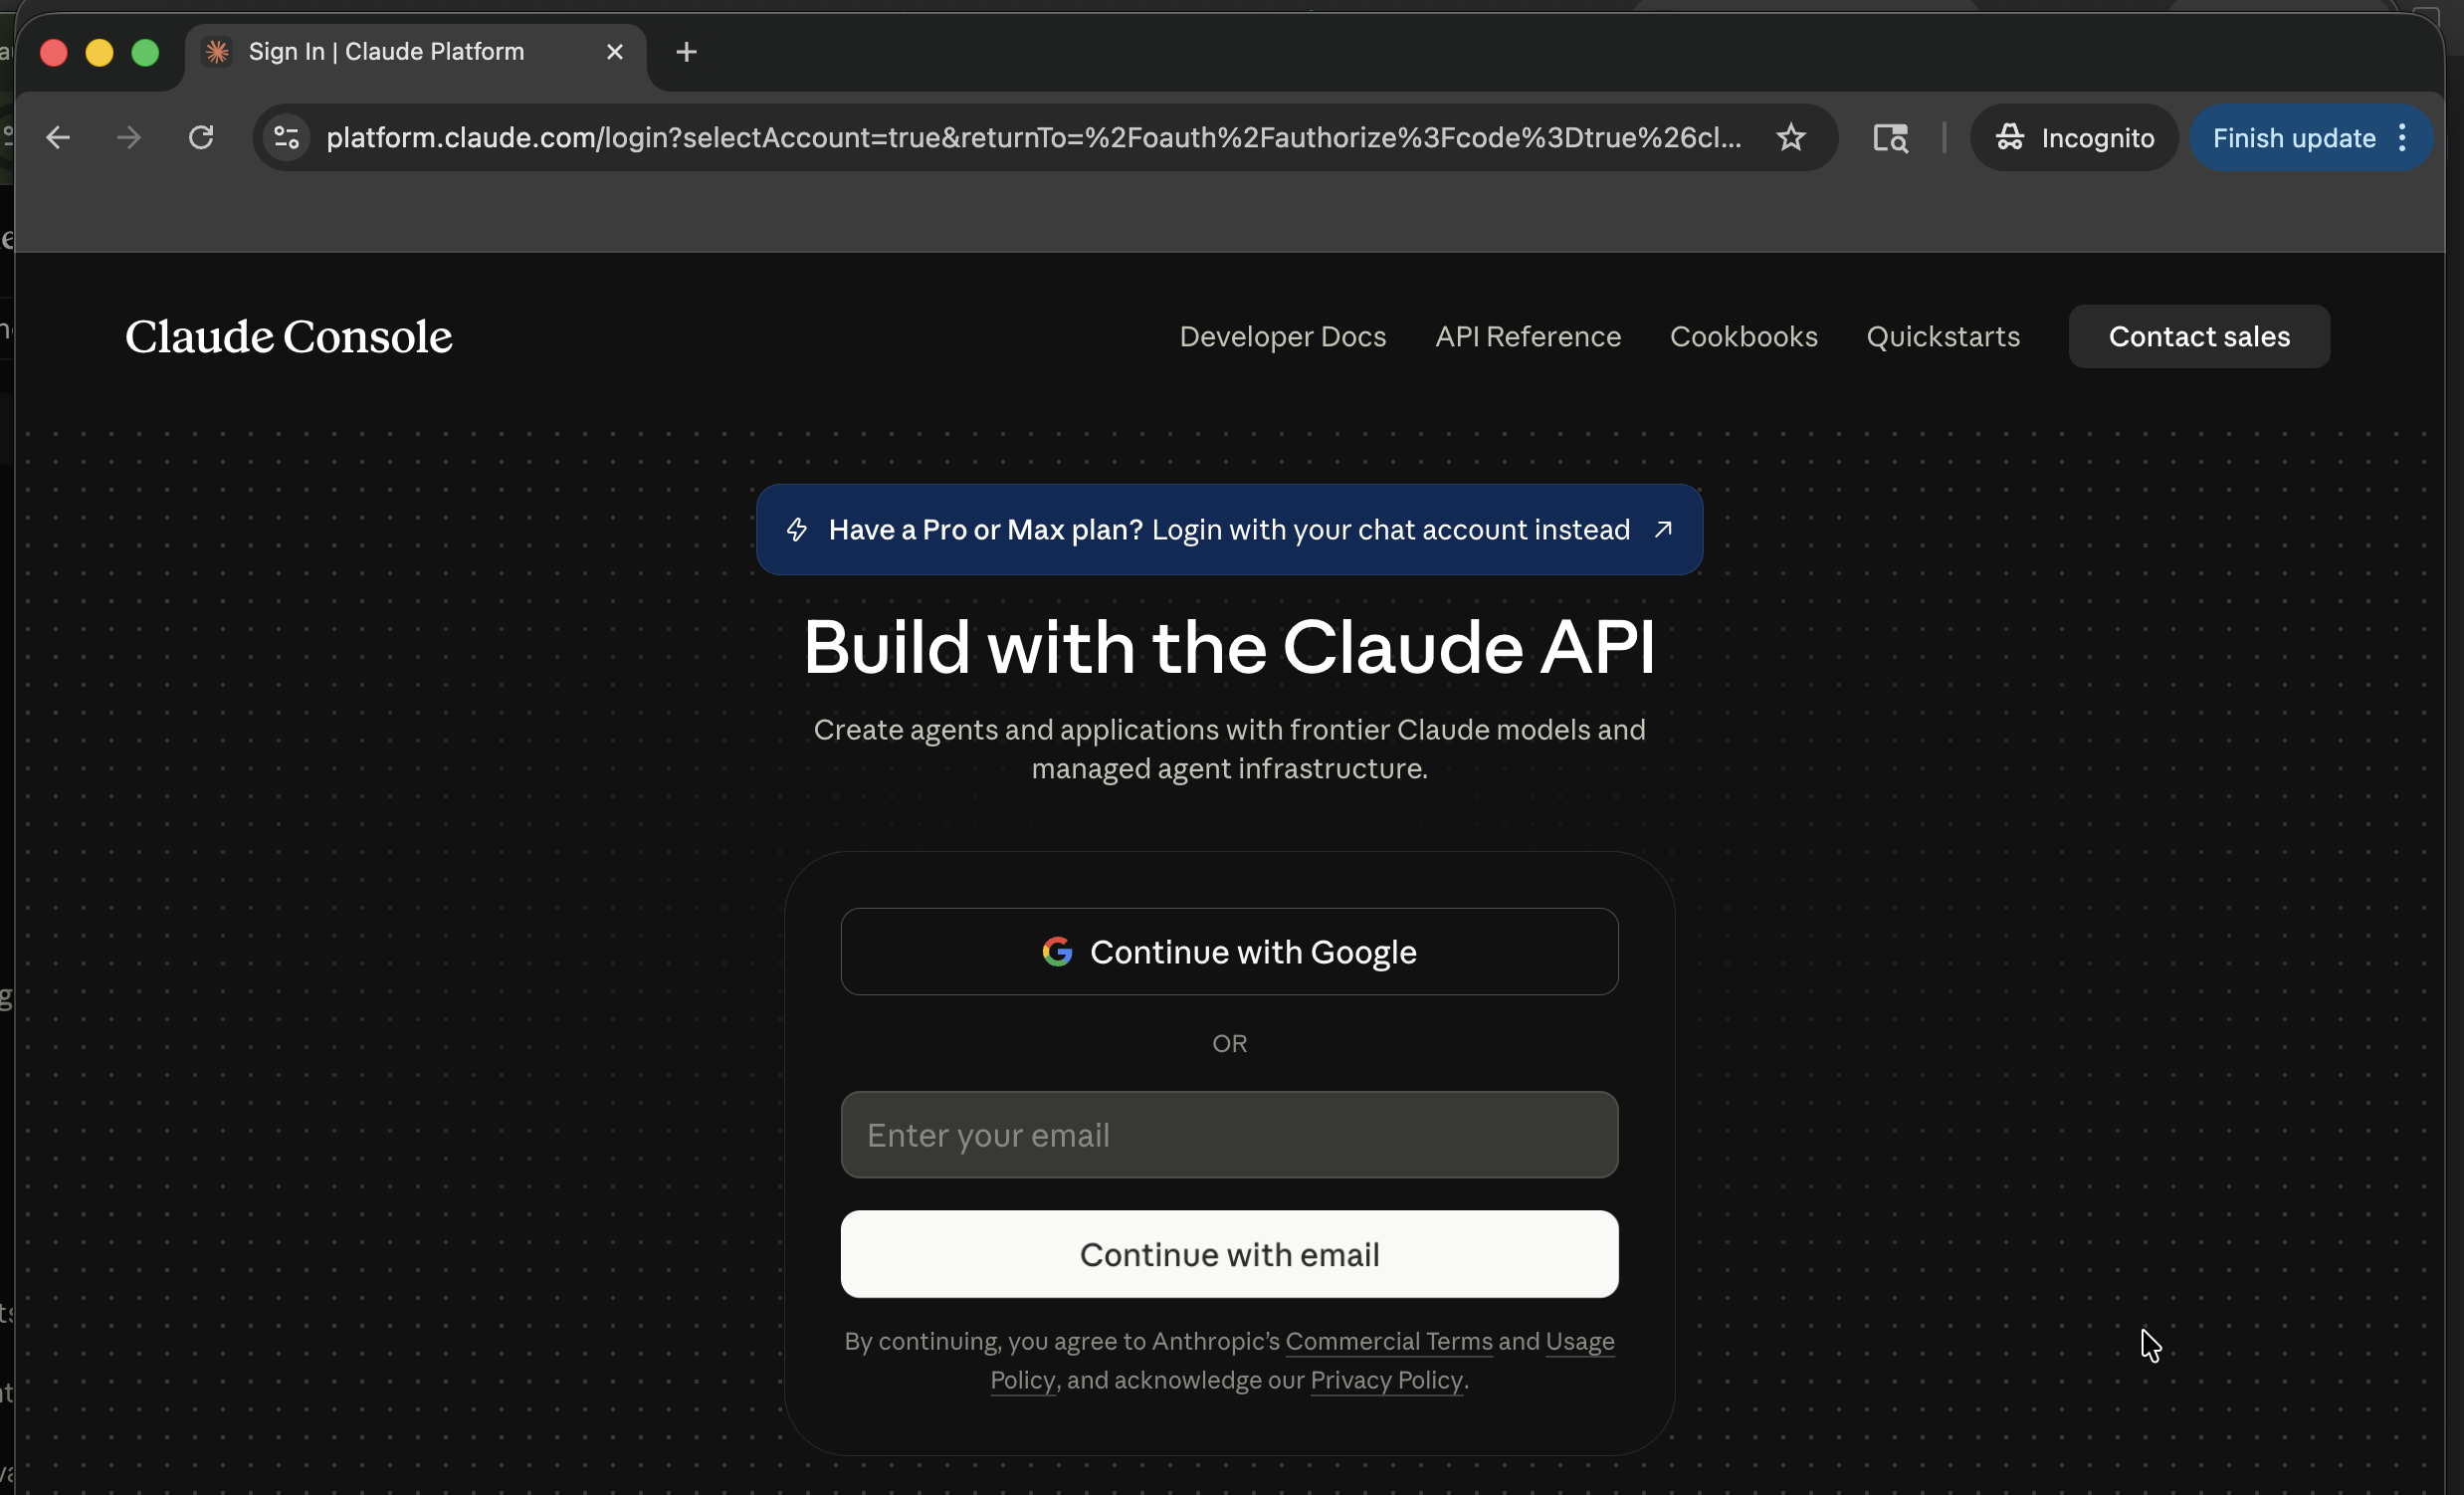
Browser login page -
If you are asked which organization to connect, pick
NF AI Workshop.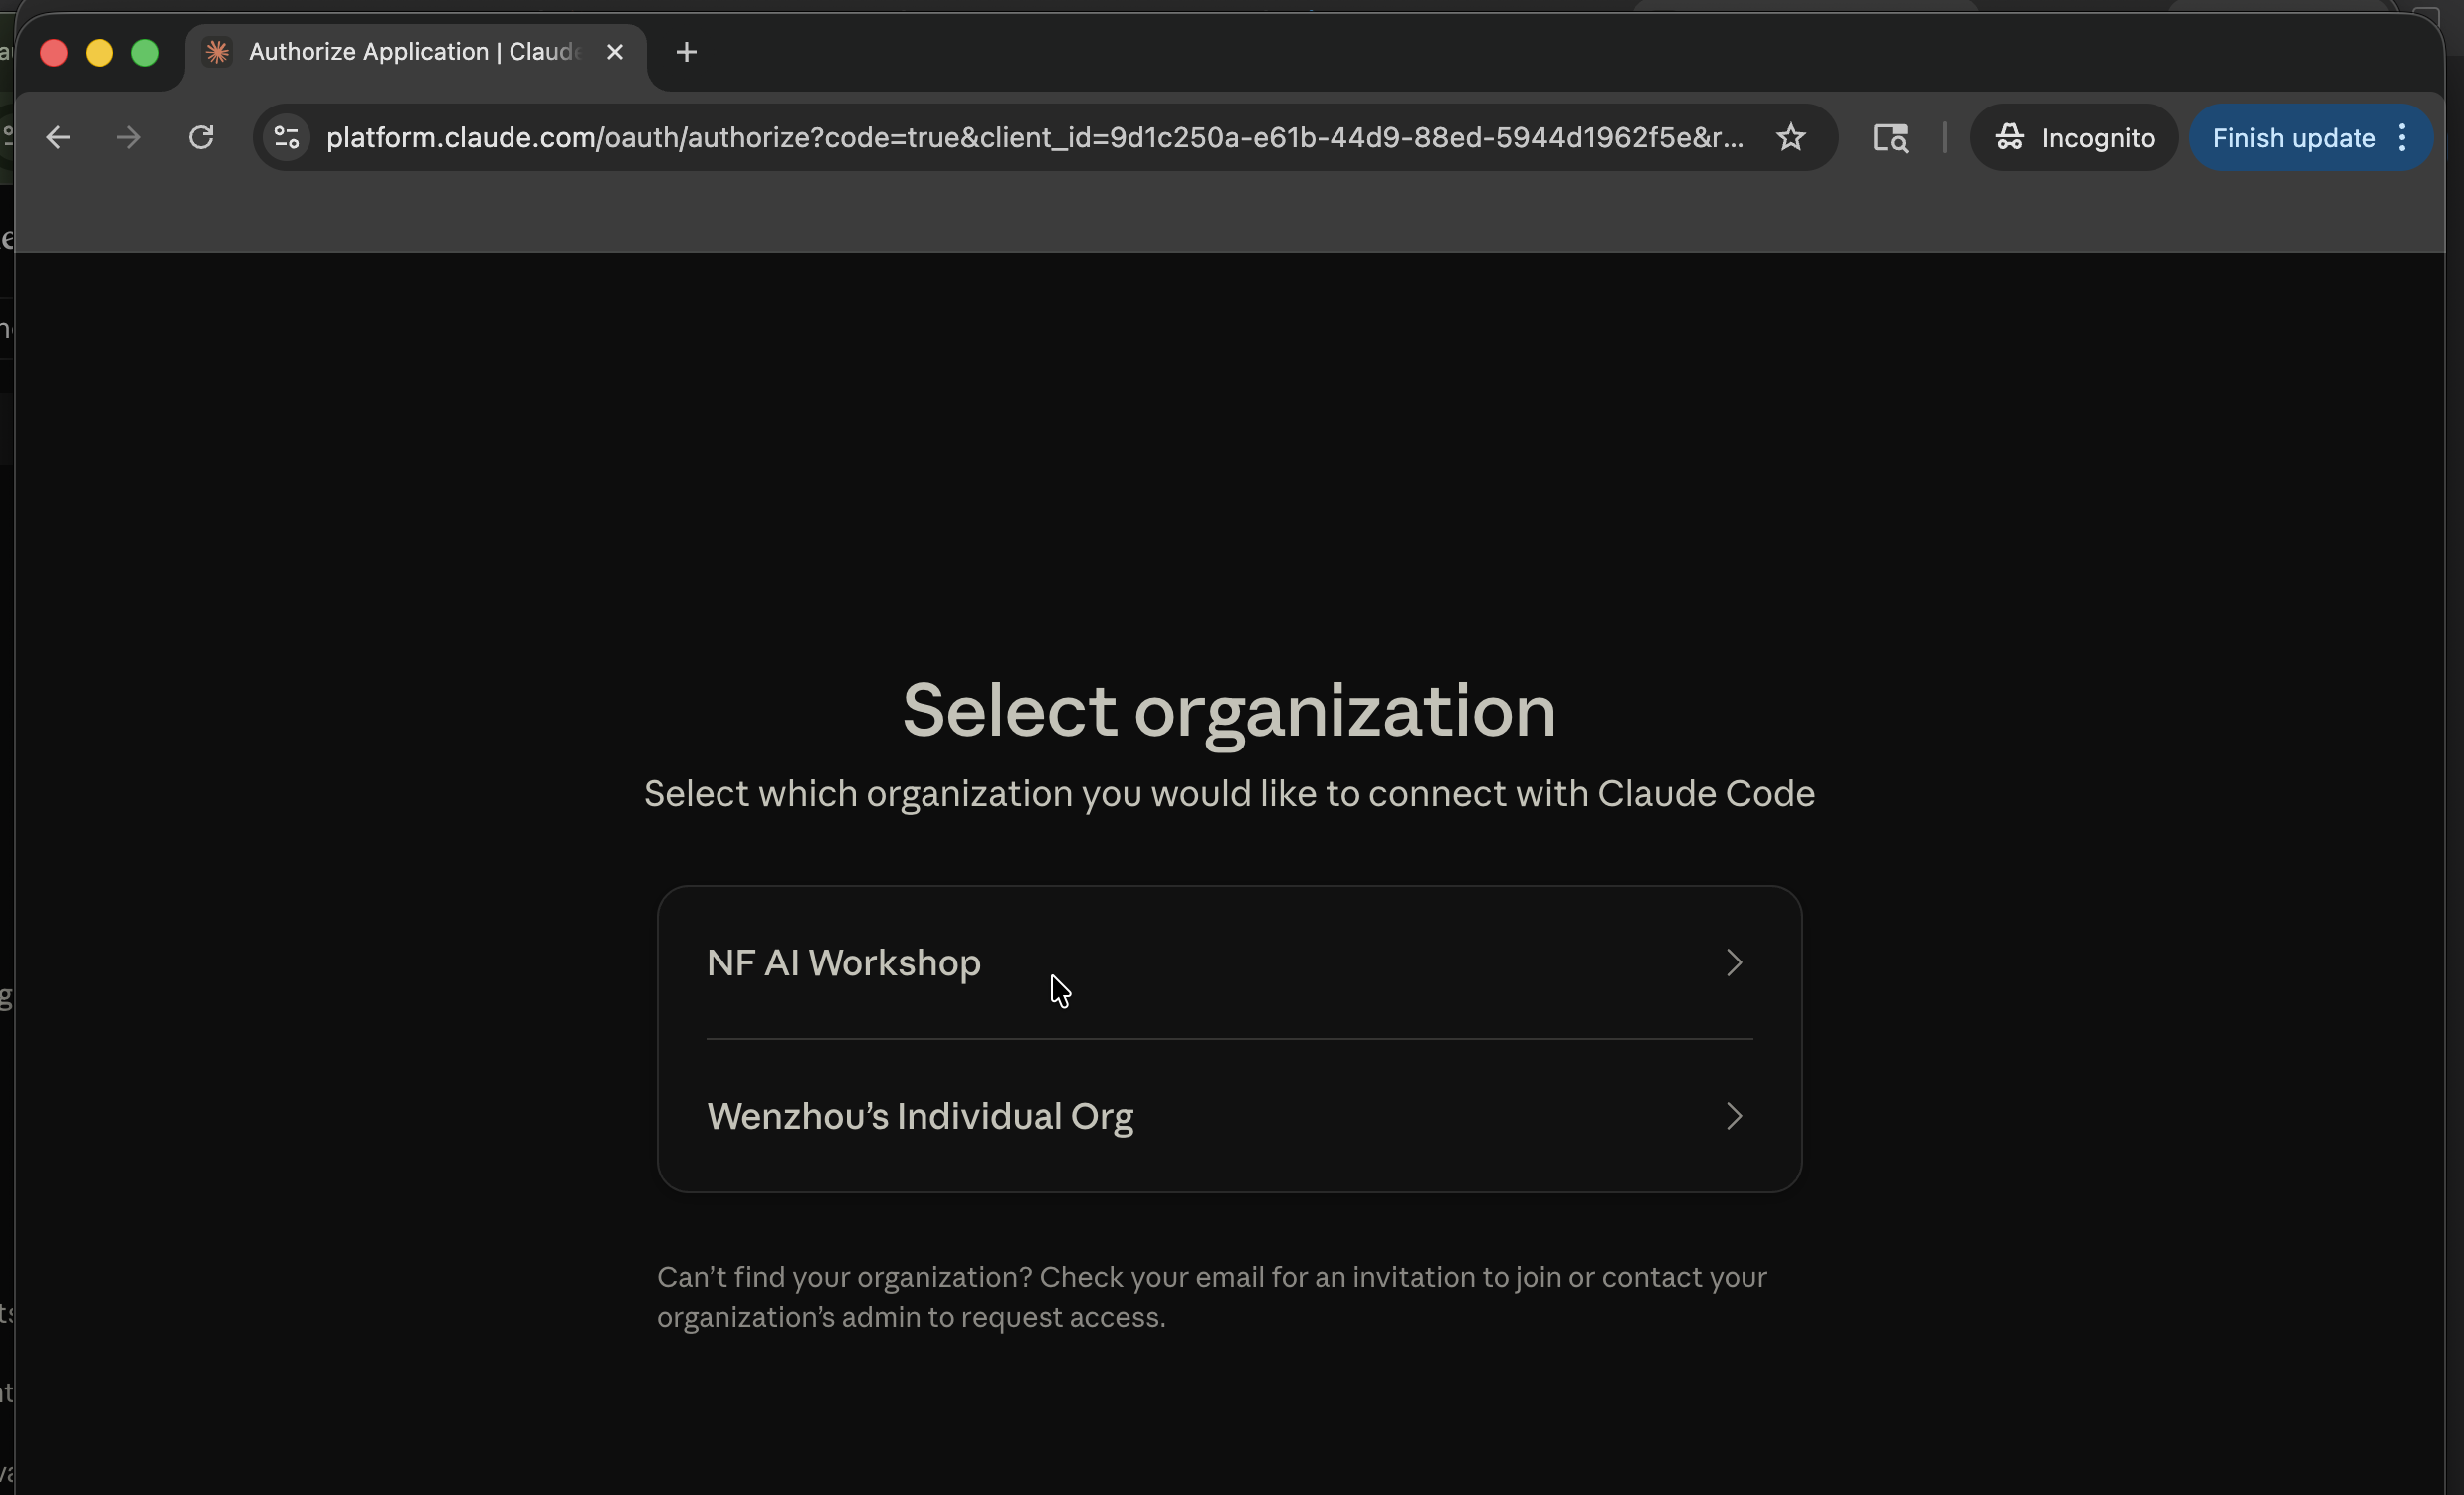
Choose the “NF AI Workshop” organization -
Authorize access, then close the window when prompted and go back to
VS Code.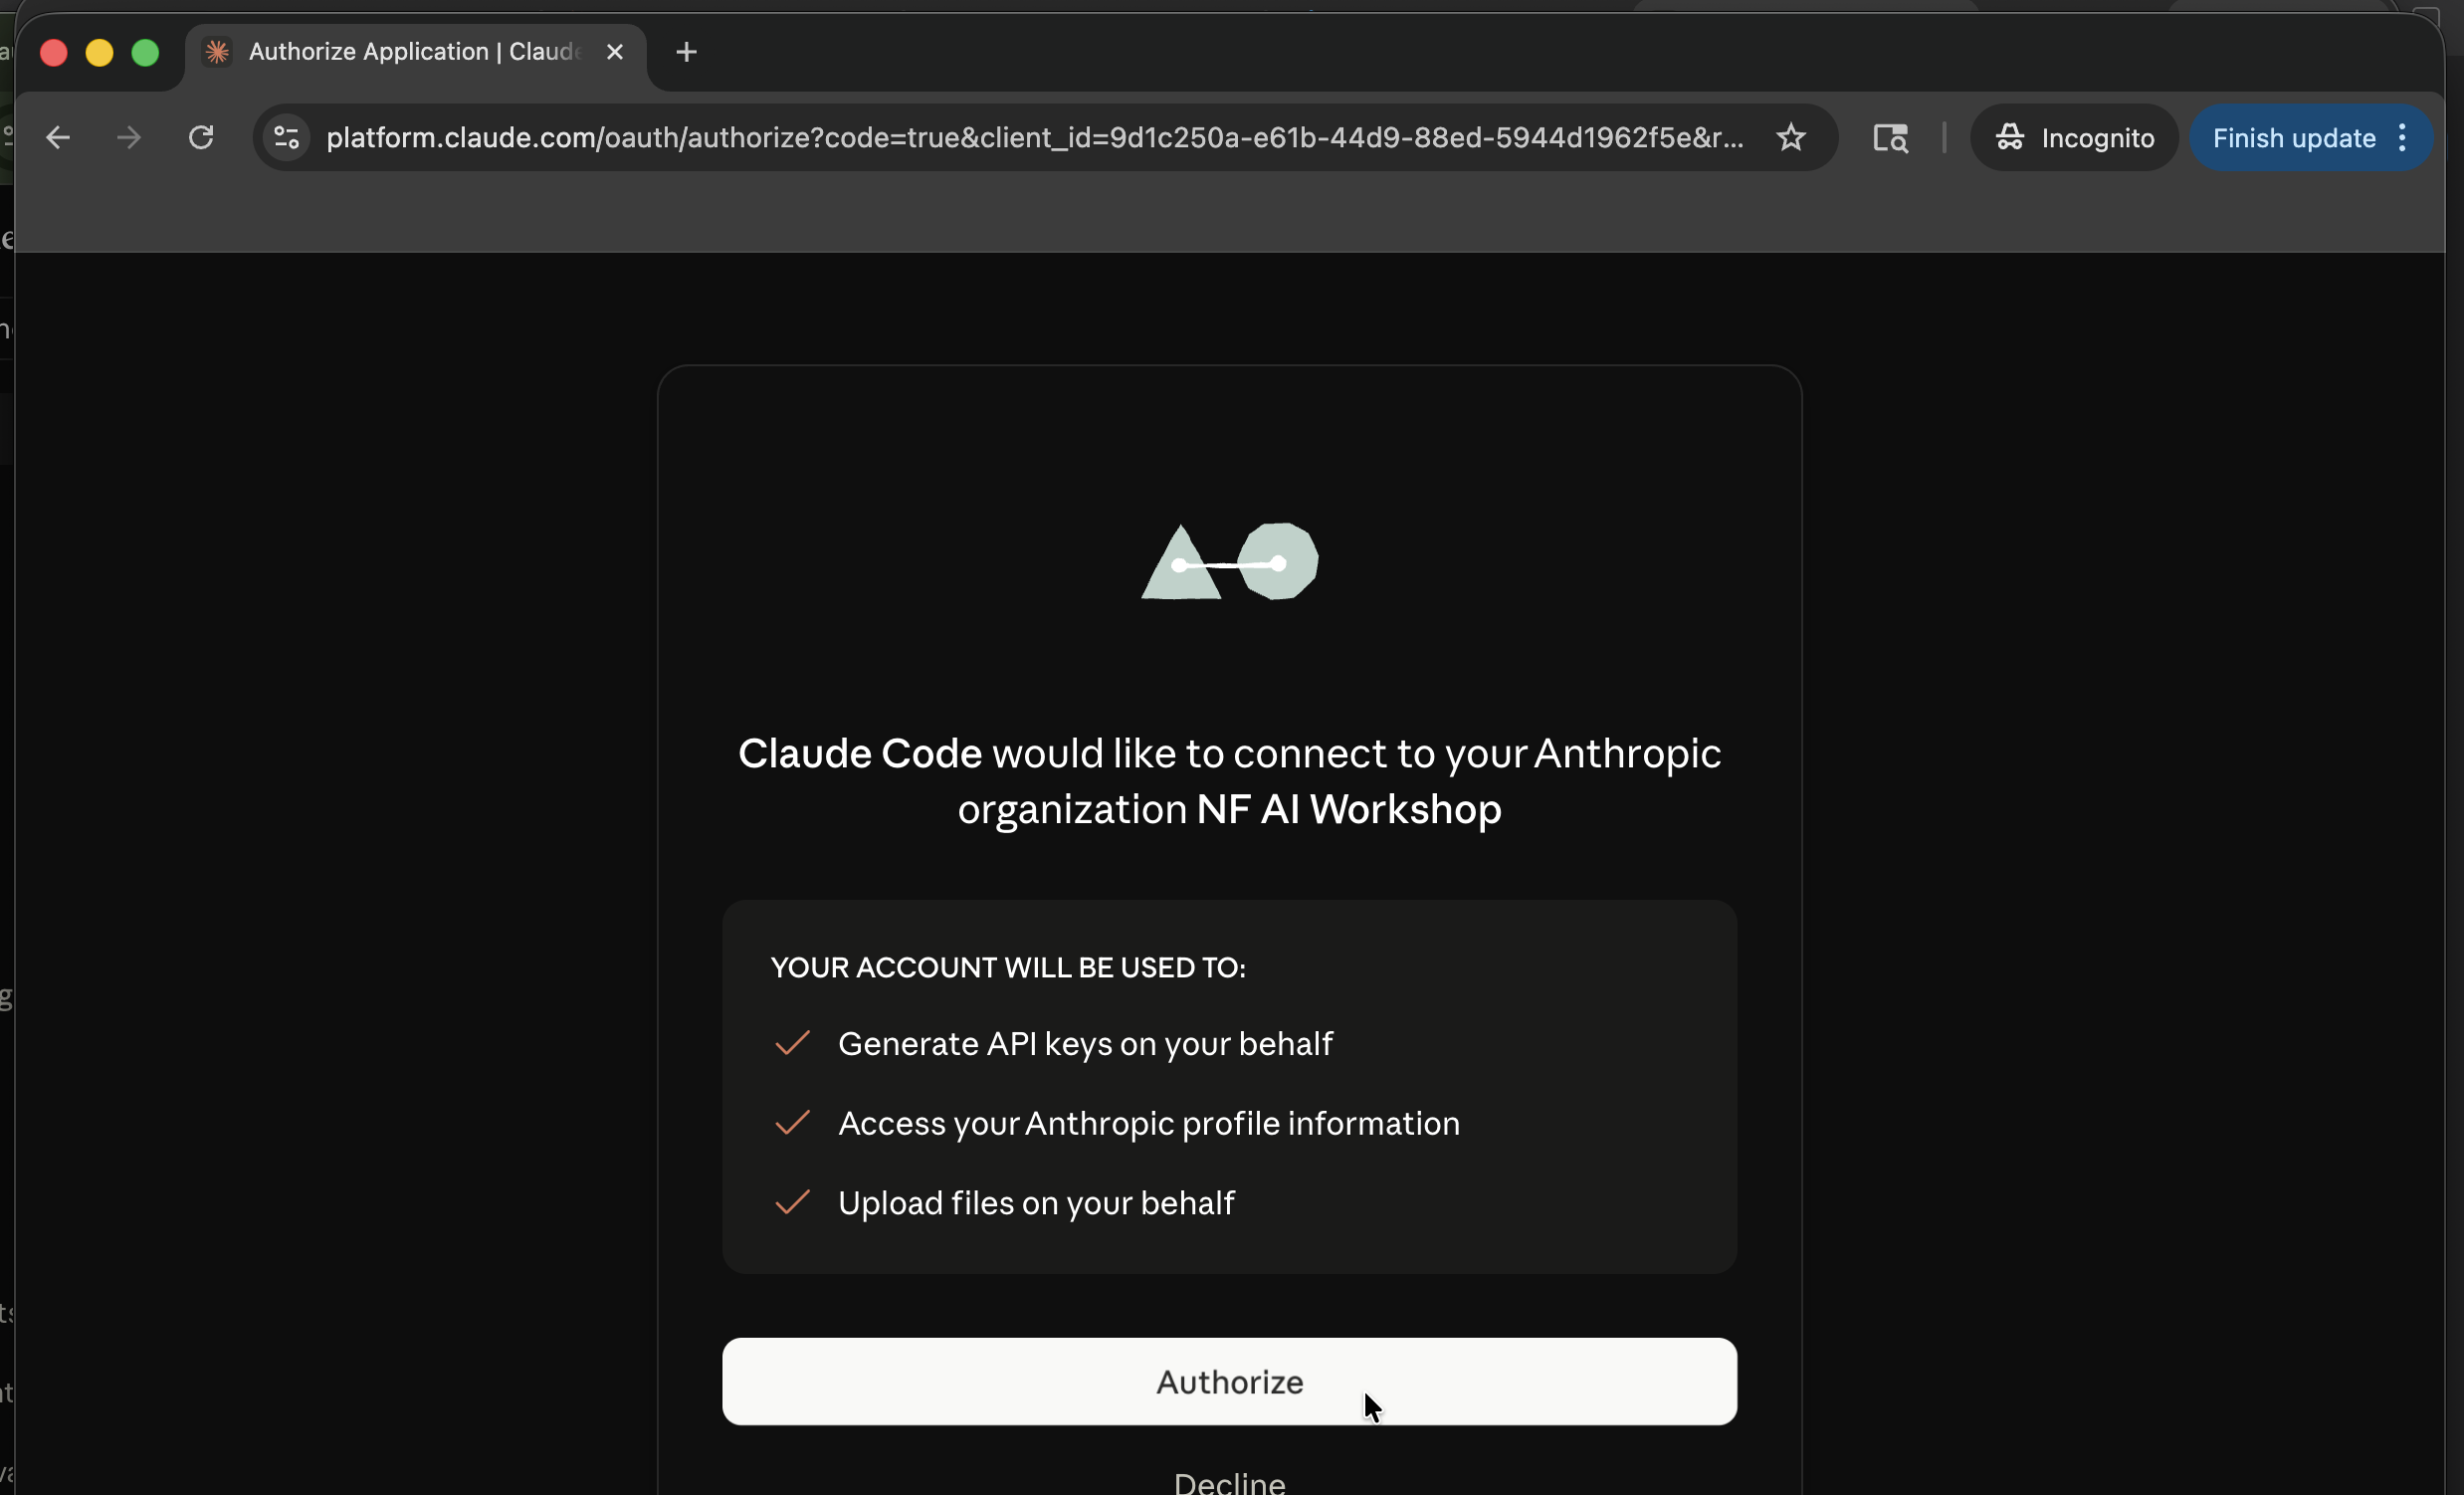
Authorize access -
Your
Claude Codewindow should now look like this.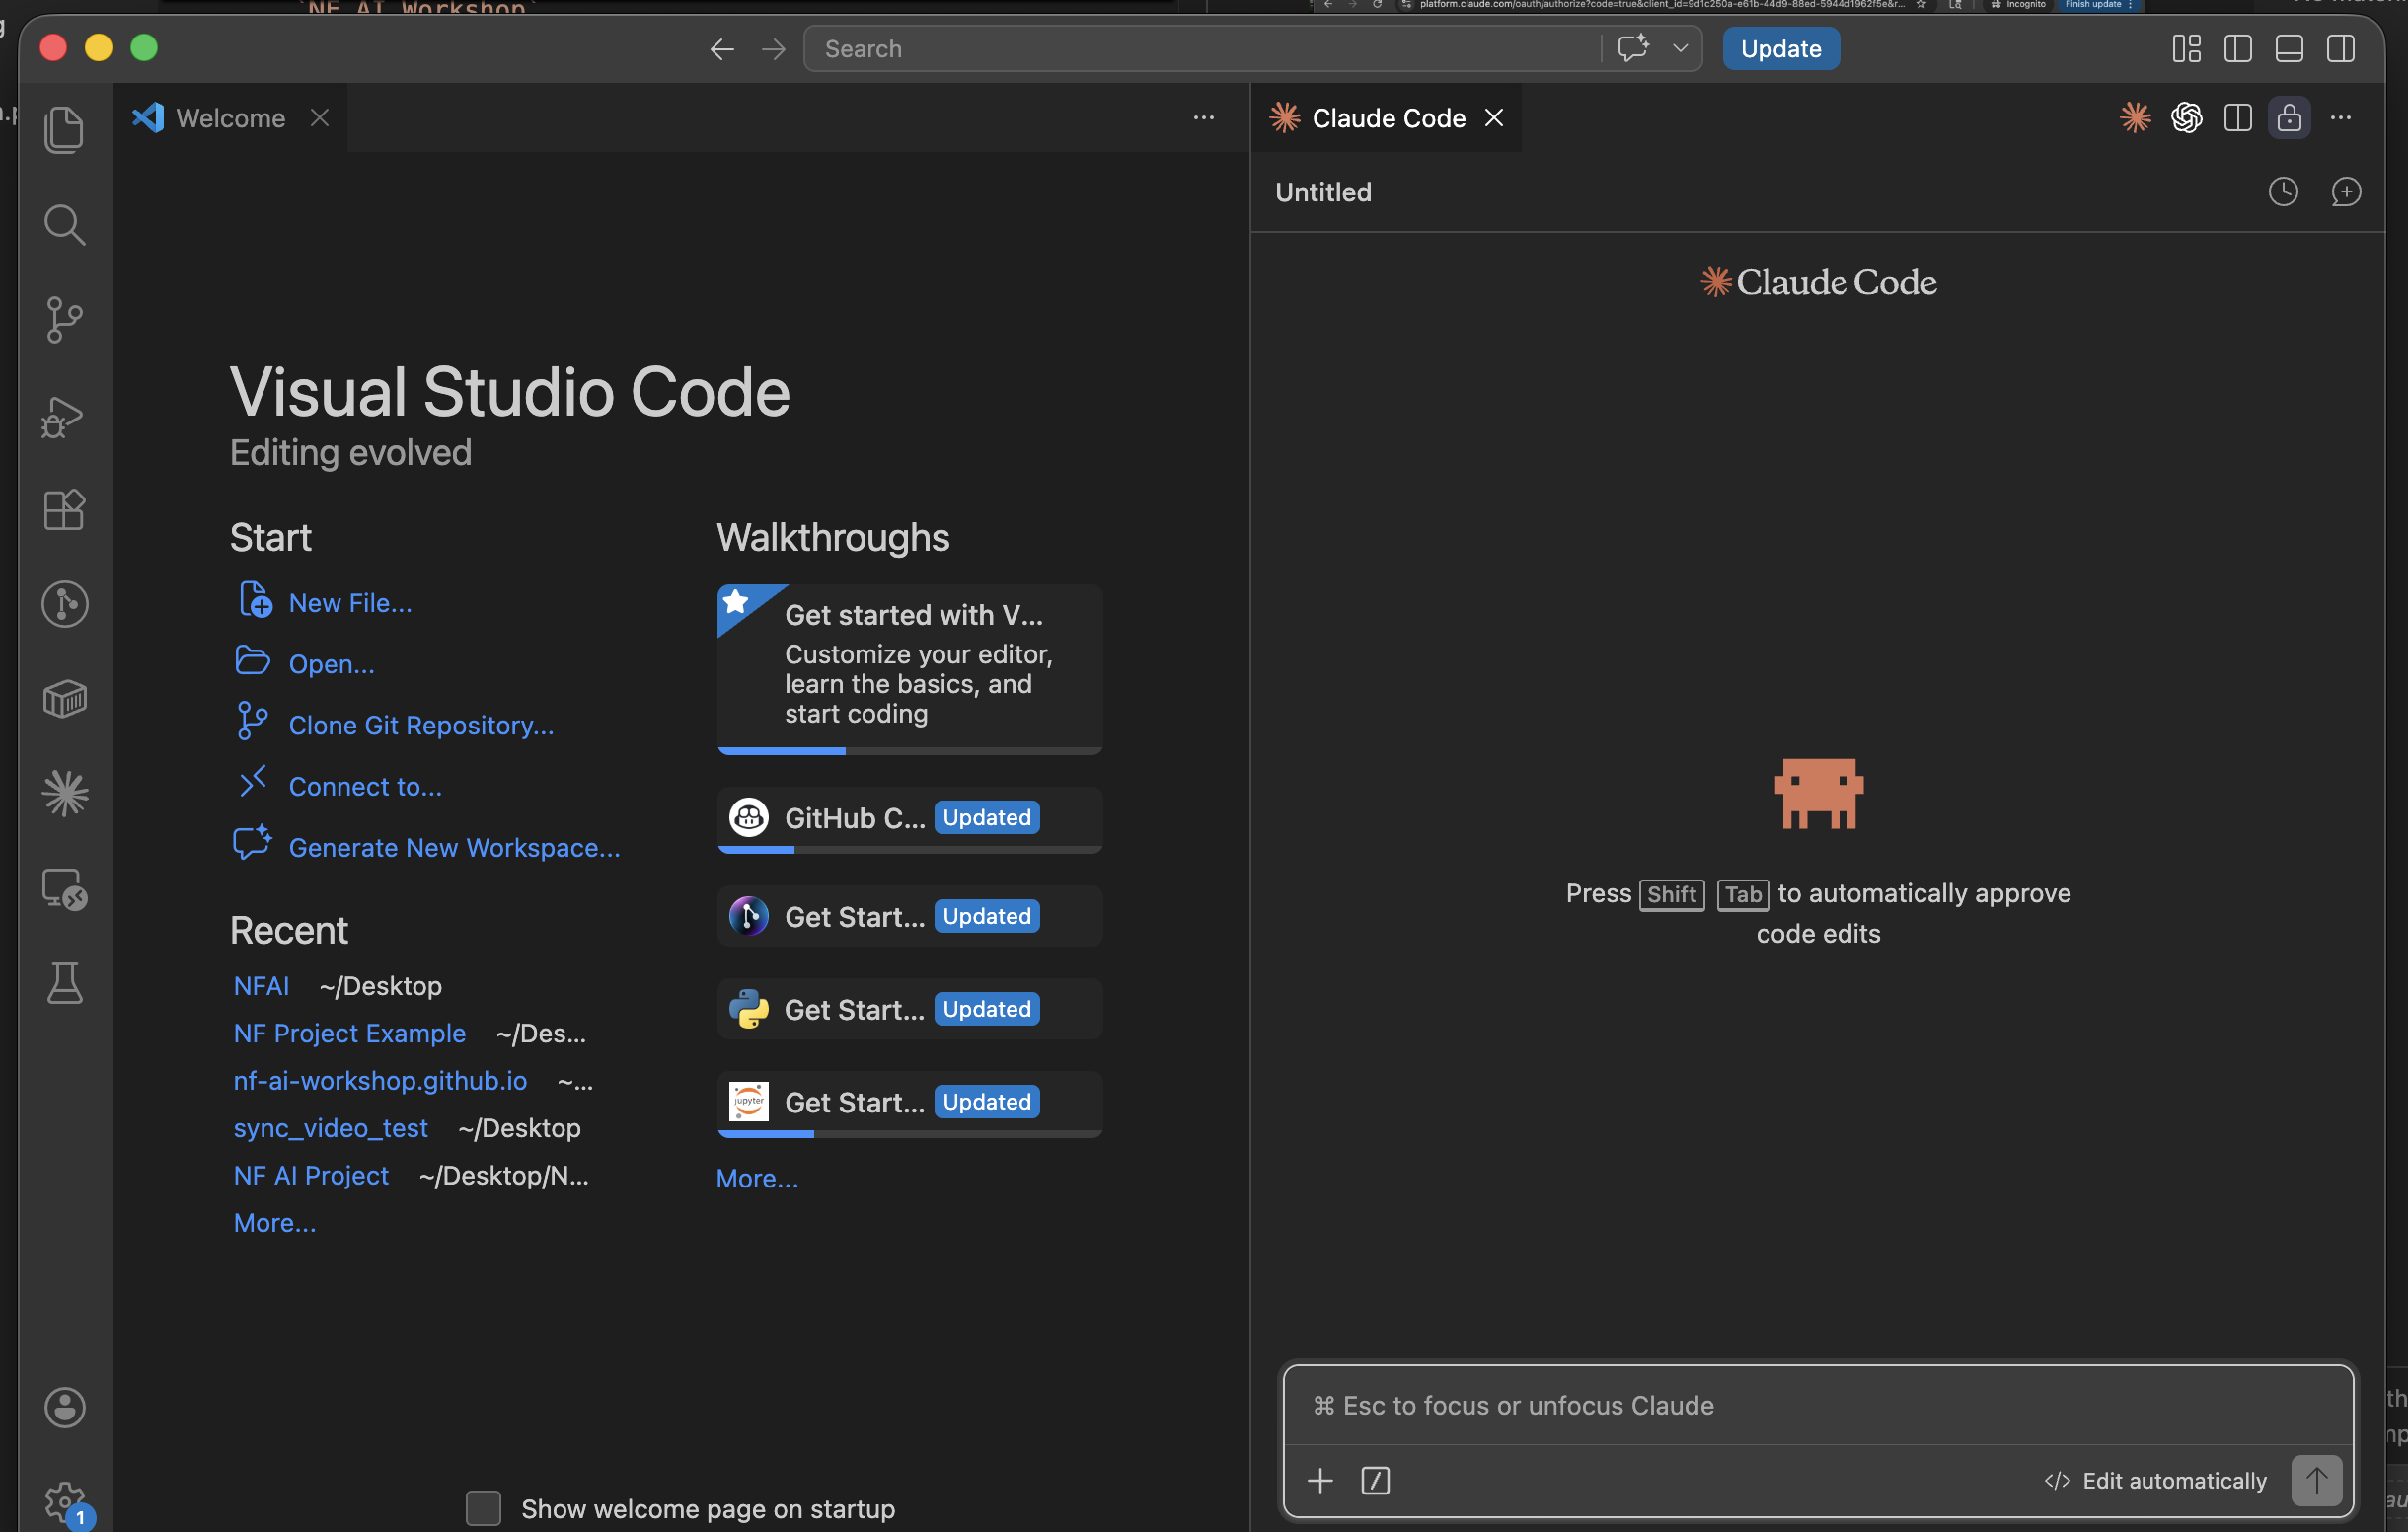
Signed in and ready
Starting a Project with Claude Code
2.1 Setting up a new project
-
Now let's start a project. Click the
Open...button on theWelcomepage.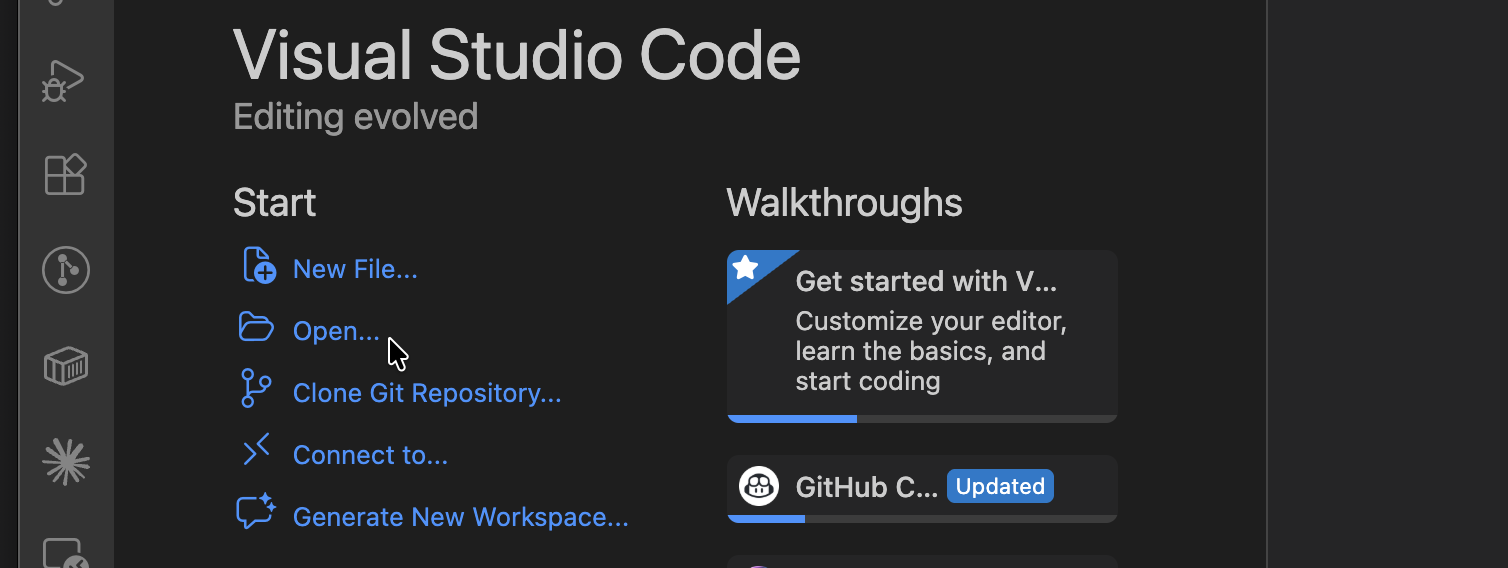
Open a folder -
Make a new folder and name it something related to your project.
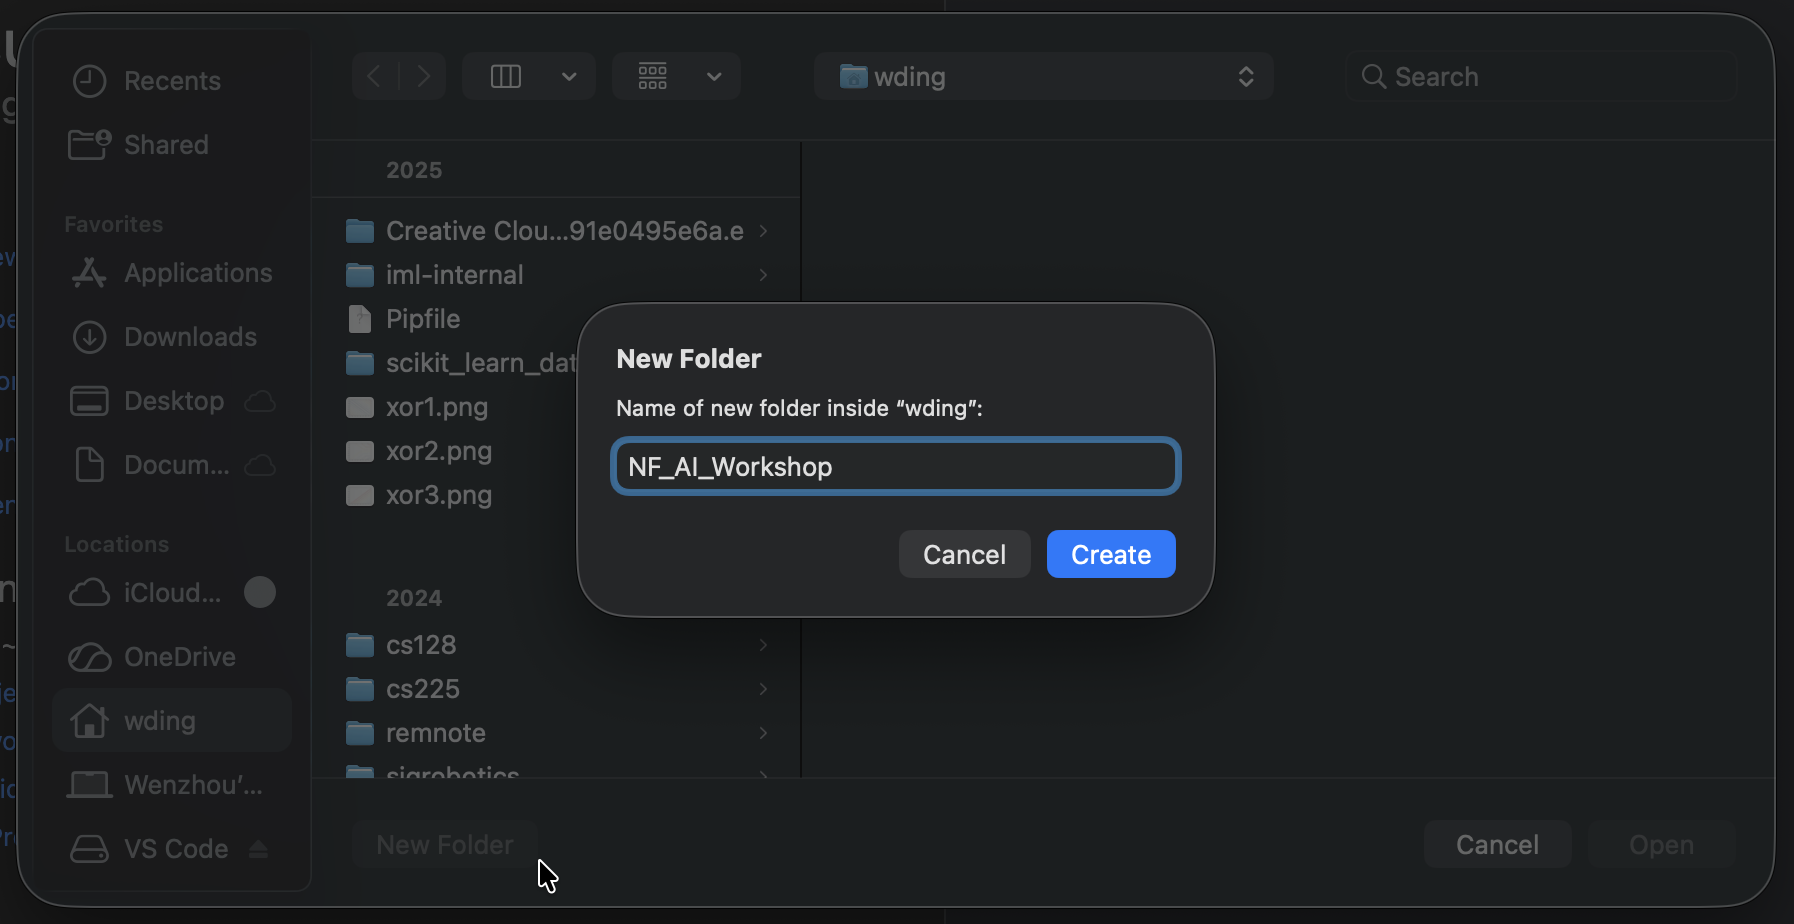
Create a project folder -
And open the folder.
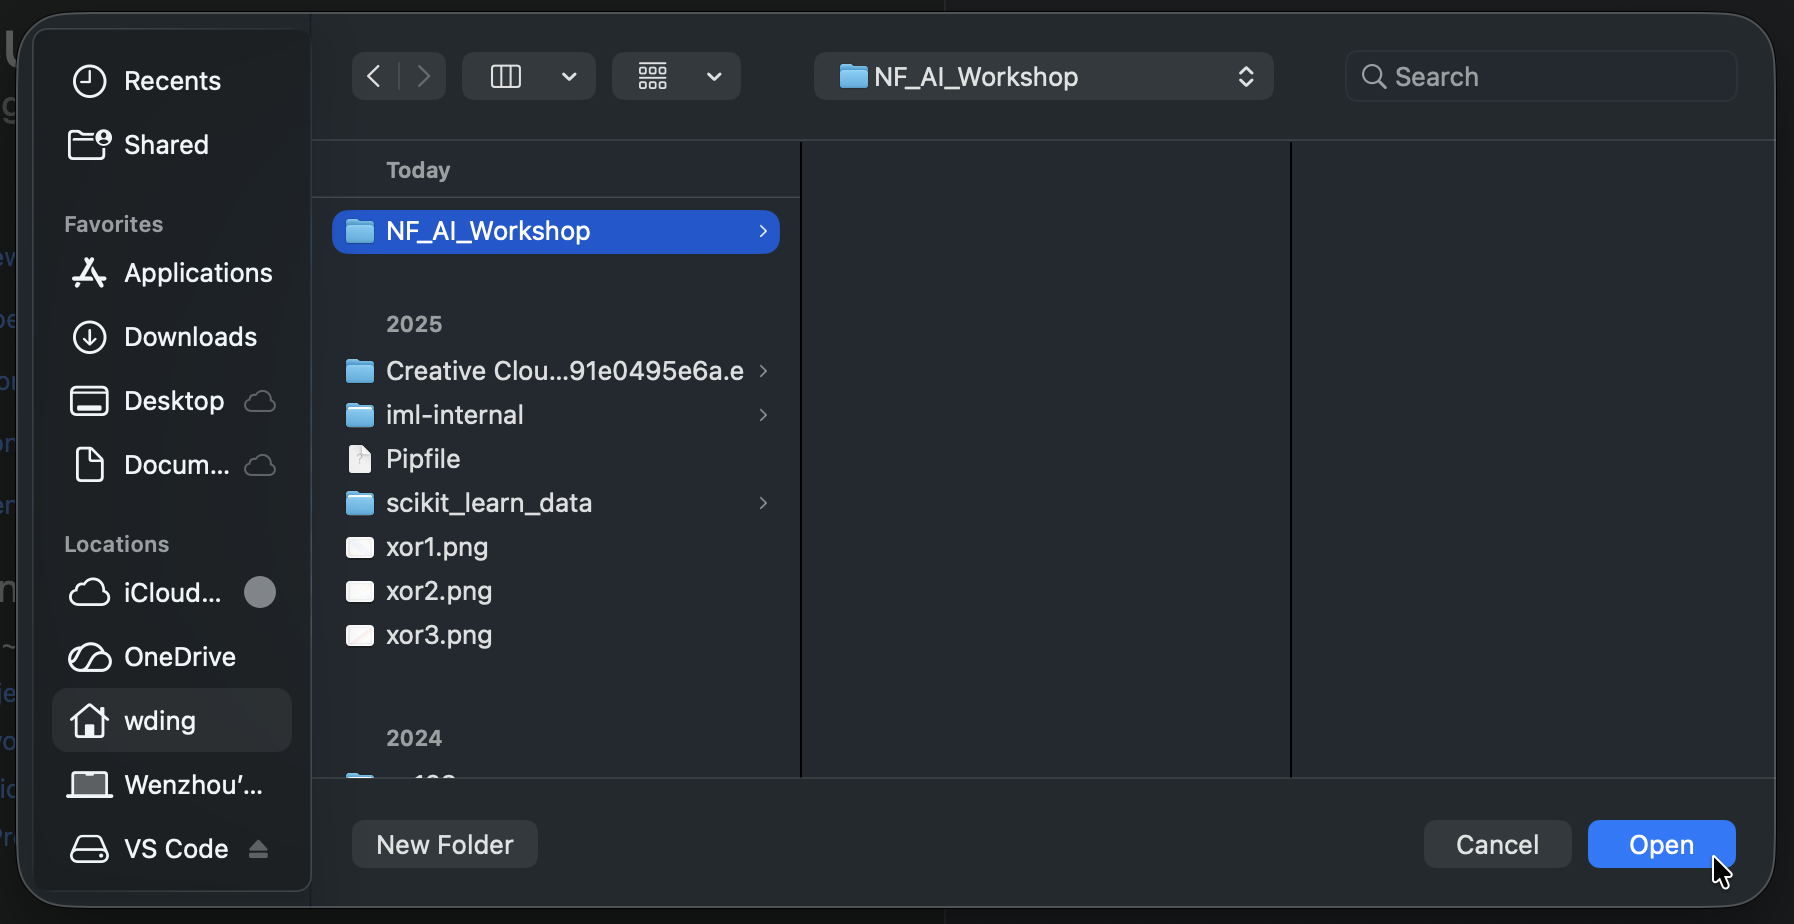
Open the new folder -
Your VS Code should now look like this:
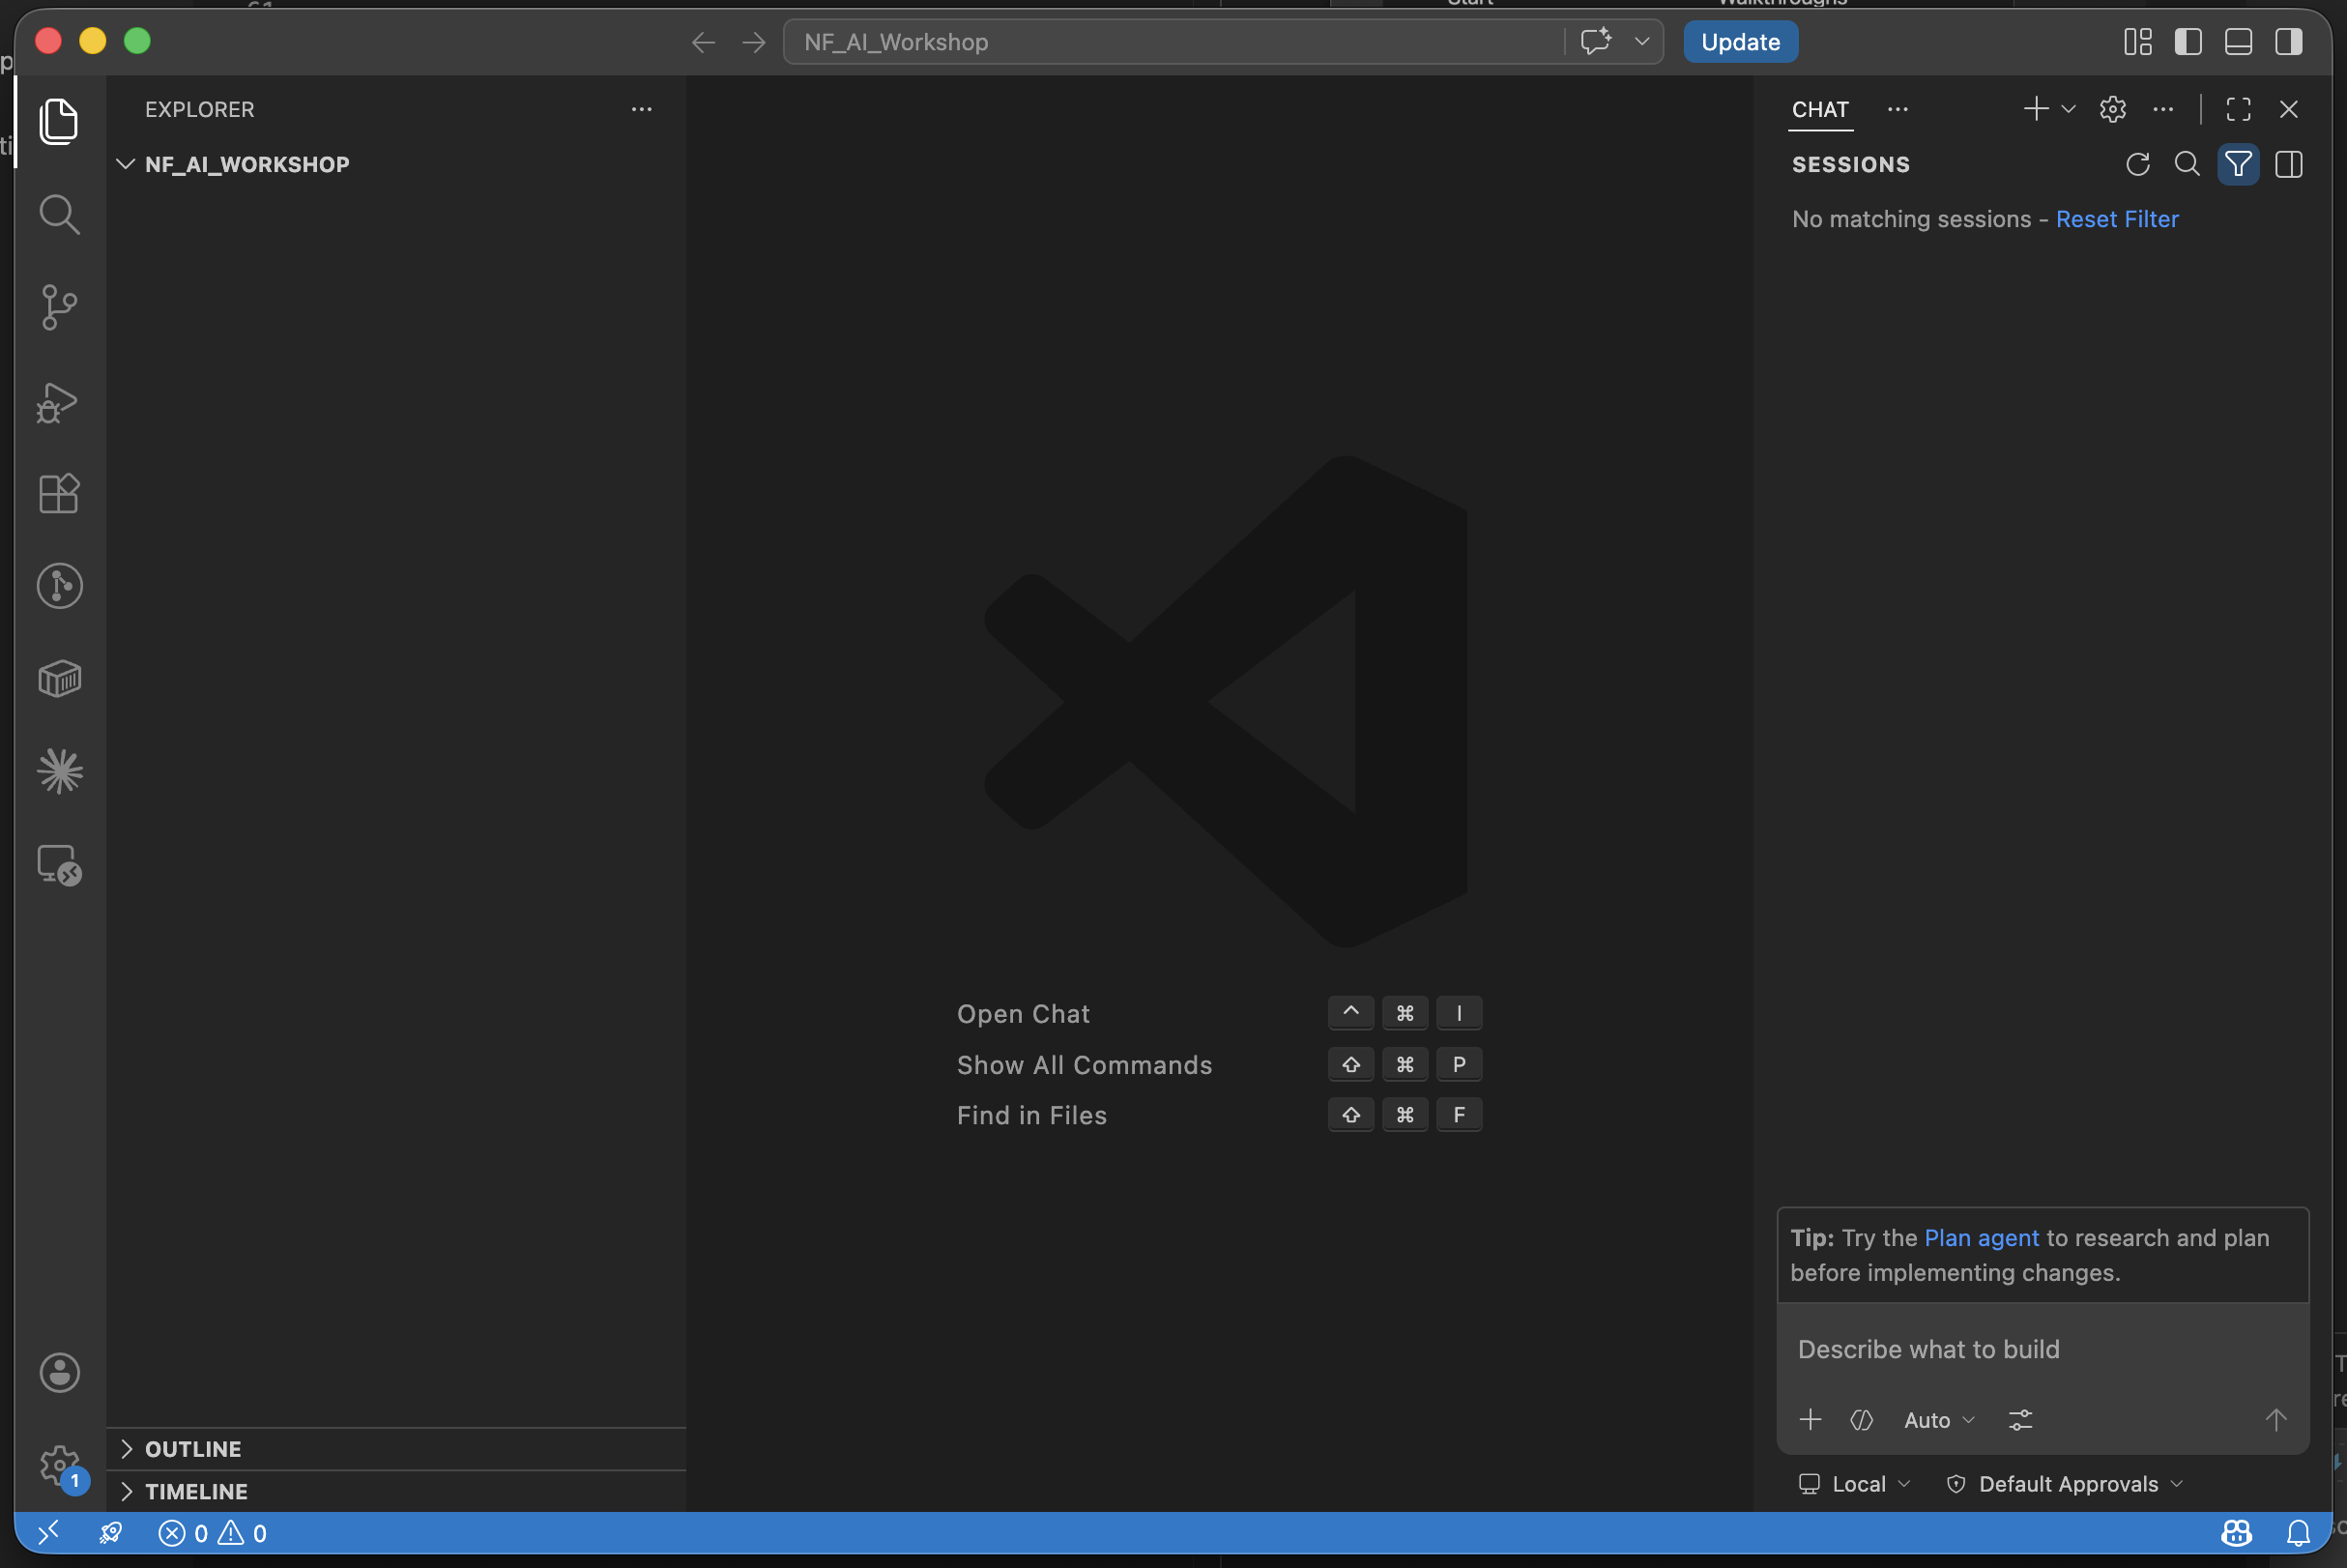
Empty project, ready to go -
In the top-right corner, click the
...menu next toCHATand selectClaude Codeto pull up Claude in the window.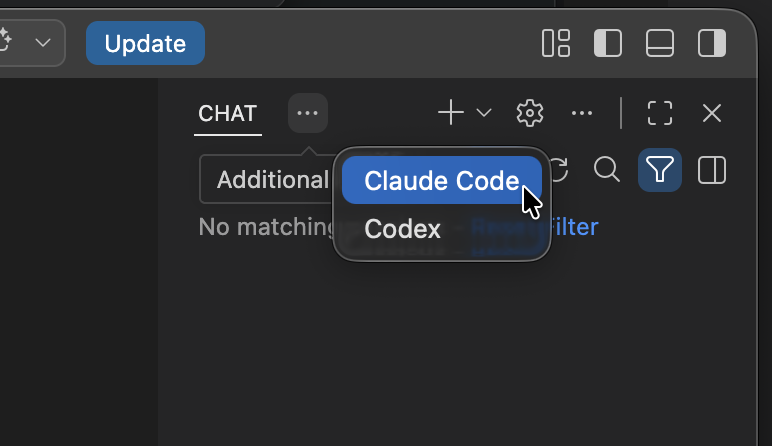
Reopen Claude Code from the Chat menu
Now you are good to go! In the section below, we will introduce some basic commands when using VS Code and Claude.
2.2 An introduction to VS Code
-
On the left-hand menu, click the
file +icon to create a new file. You can also drag-and-drop existing files to add them to your project.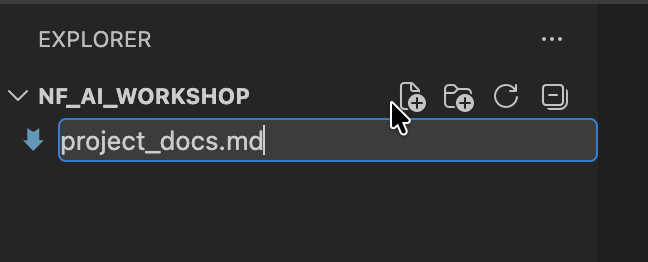
New file -
The
folder +icon to the right creates a new folder. Use this to organize your project.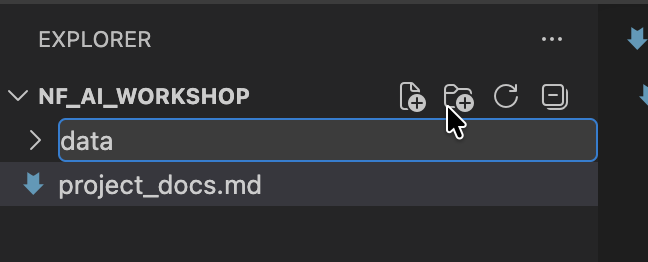
New folder -
At the top menu bar, select
Terminal->New Terminal(or use the shortcutCtrl+Shift+tilde) to bring up a new terminal.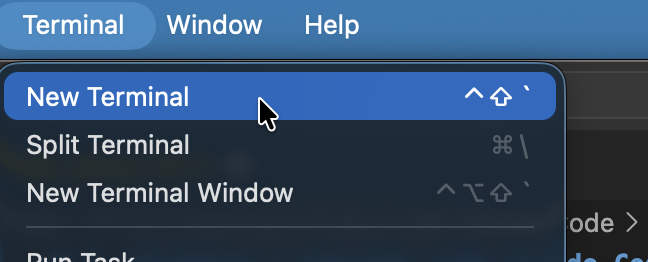
Terminal ▸ New Terminal -
The new terminal will appear at the bottom of your screen. You can use it to run scripts. If you're not sure how, feel free to ask Claude which commands to run or let Claude run it for you.
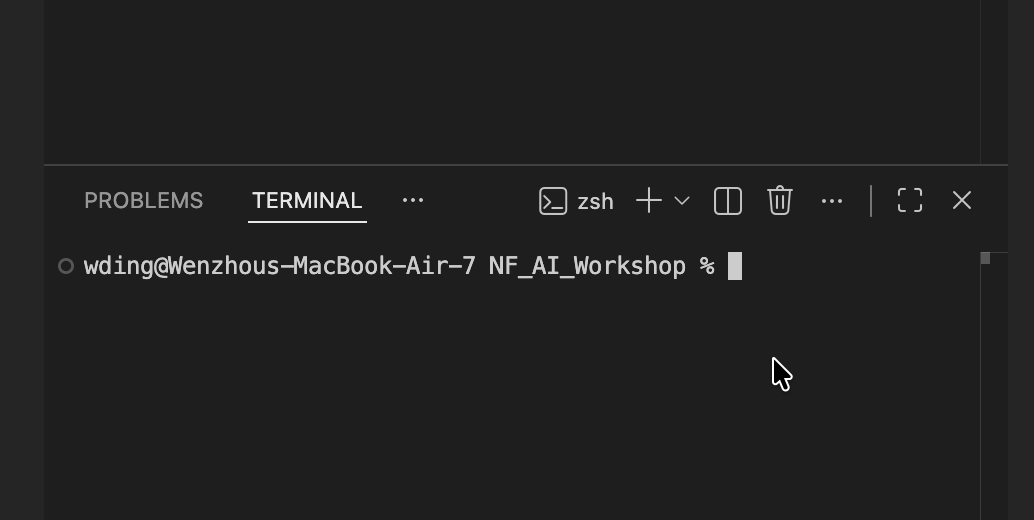
Integrated terminal
2.3 Claude settings
-
Type
/in the bottom text bar like so, and it will bring up some common settings.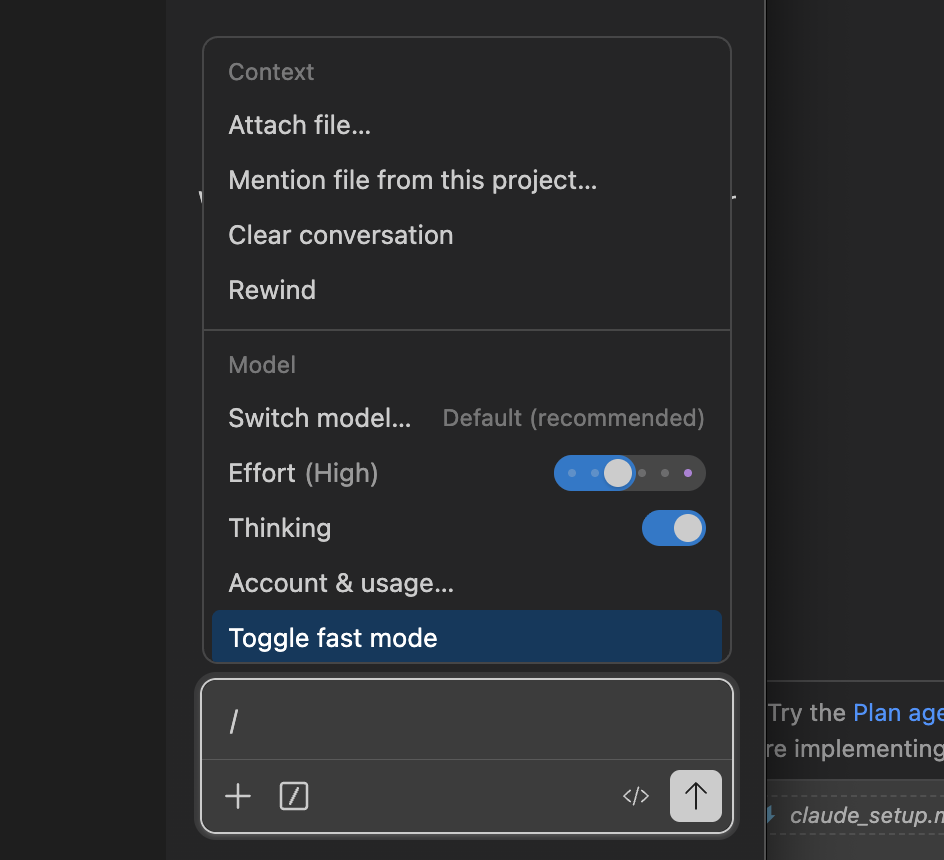
Type / to see commands Switch model...lets us choose which model to use. The table below gives a short description of the latest models. We recommend Opus 4.8 for coding tasks.
Anthropic's newest model, Fable 5.0, is unavailable due to government restrictions.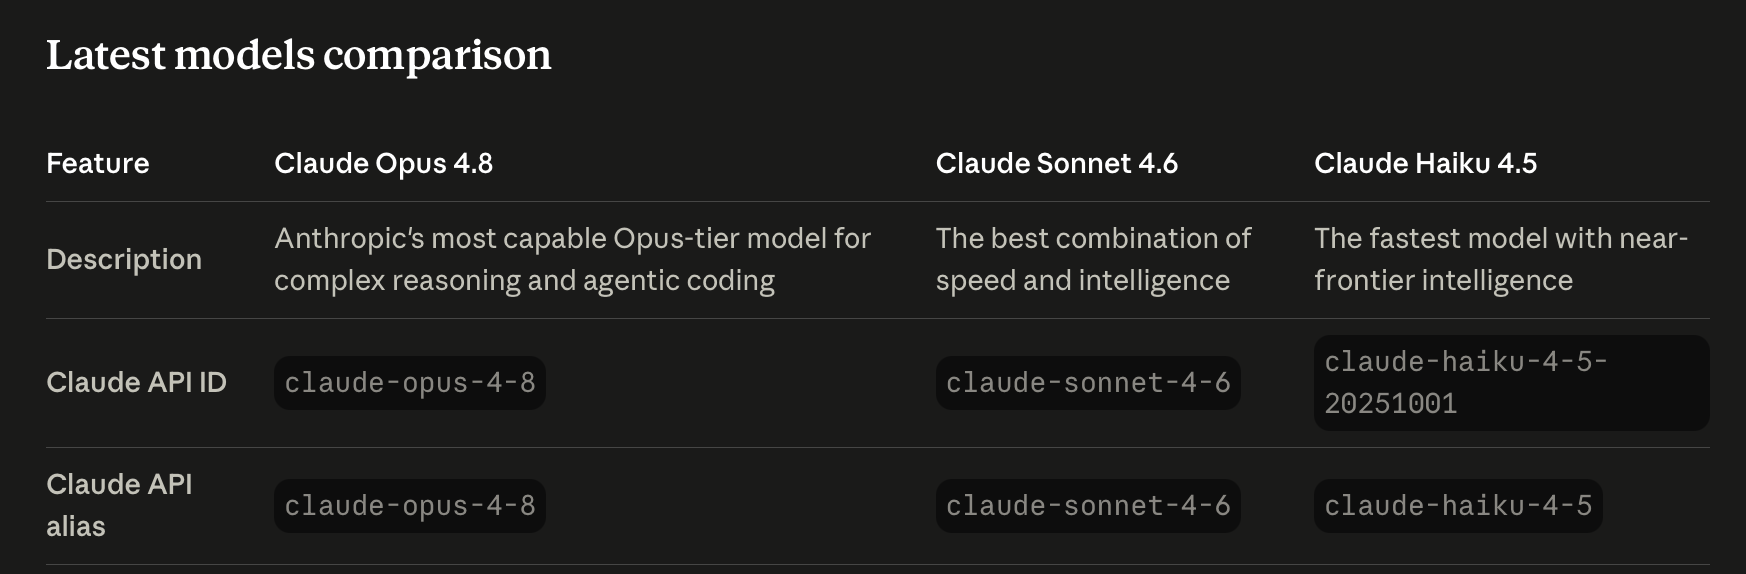
Latest Claude models compared Effortdetermines how many tokens Claude is willing to use when responding to requests. You can read more about it here.Thinkingwill enhance reasoning capabilities and increase the amount of time Claude takes to produce an answer.
-
Select the
</>button at the bottom of the prompt box to change permission settings. For larger projects, we recommend to usePlan modefirst, and thenedit automaticallyonce you think the plan looks good.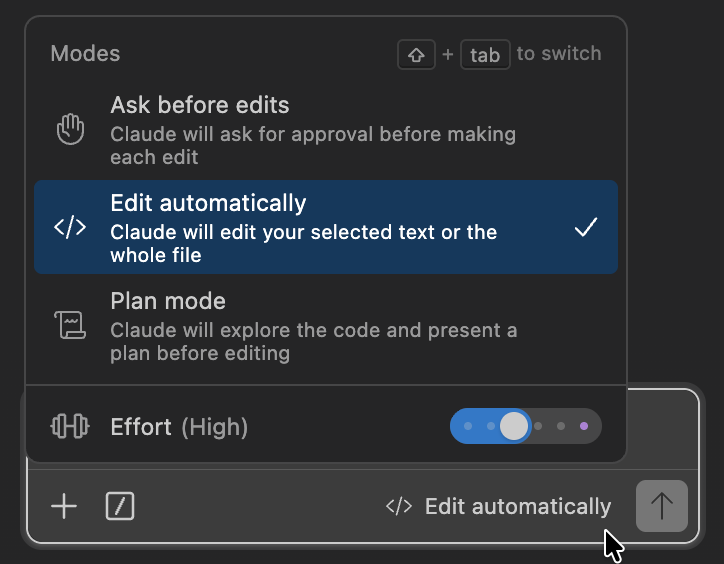
Permission modes (the </> button) -
Click the
+button in the top-right corner to start a new chat.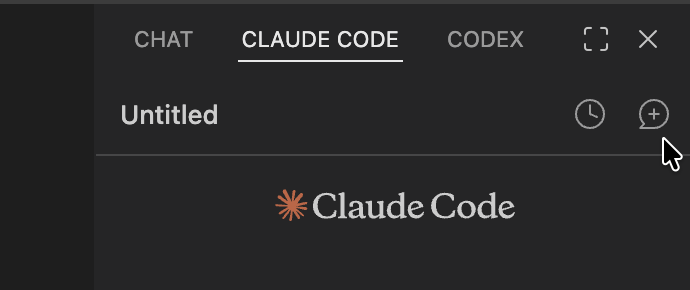
Start a new chat (+) -
The clock icon in the top-right corner lets you go through previous conversations.
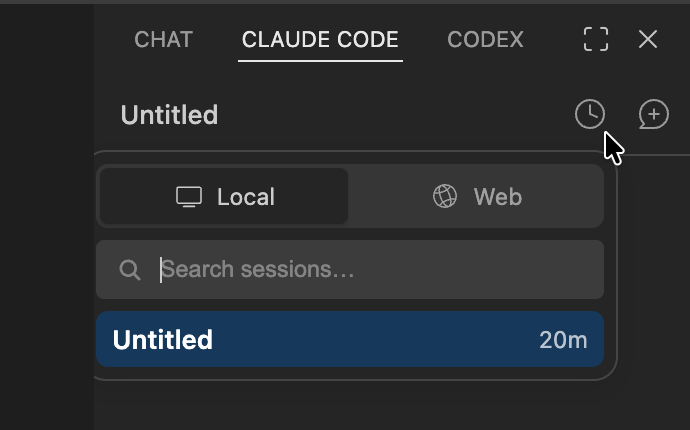
Browse past conversations (clock icon)
2.4 Tips on using Claude in VS Code
General tips
CLAUDE.mdis a file that gives Claude a set of rules to follow throughout the whole project. It automatically loads into every session, so you don't need to re-explain general guidelines. Create aCLAUDE.mdat the root of your project and copy-paste this into your file: Karpathy skills for Claude.- In the prompt box, you can
@-file(e.g.@project_docs.md) to reference a file in your project directly, so Claude doesn't have to go look for it. - Manage context-- how much information Claude sees at a time-- by running
/clearor/compact <instructions>(e.g./compact Focus on changes) fairly often to help Claude focus and reduce token usage. Another trick is to let Claude summarize its progress in aPROGRESS.mdfile as it works so you can use/clearoften without losing information about what Claude is doing. - Use
/btwfor quick questions that don't need to be recorded in conversation history.
Smaller projects
For smaller projects like personal websites or data filtering scripts, you can use the prompt box to directly tell Claude what to do.
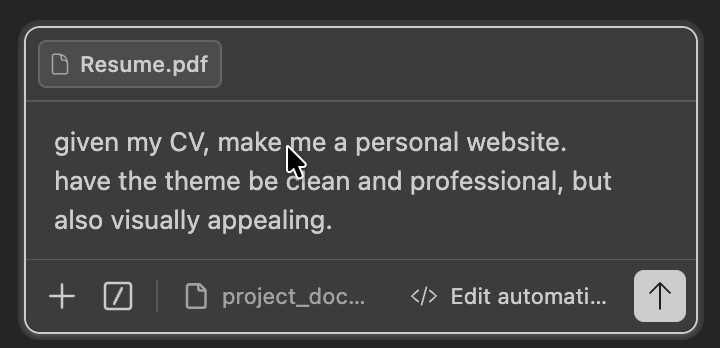
- use the
+button on the bottom left to add relevant files for Claude to reference
You can follow up with any feedback or additional requests by using the prompt box in the same chat.
Larger projects
For larger projects, I recommend writing a project plan document with the task, requirements, relevant resources and references-- similar to a research proposal. You can also directly give Claude the research proposal and let it start working from there.
- Here is an example project plan:
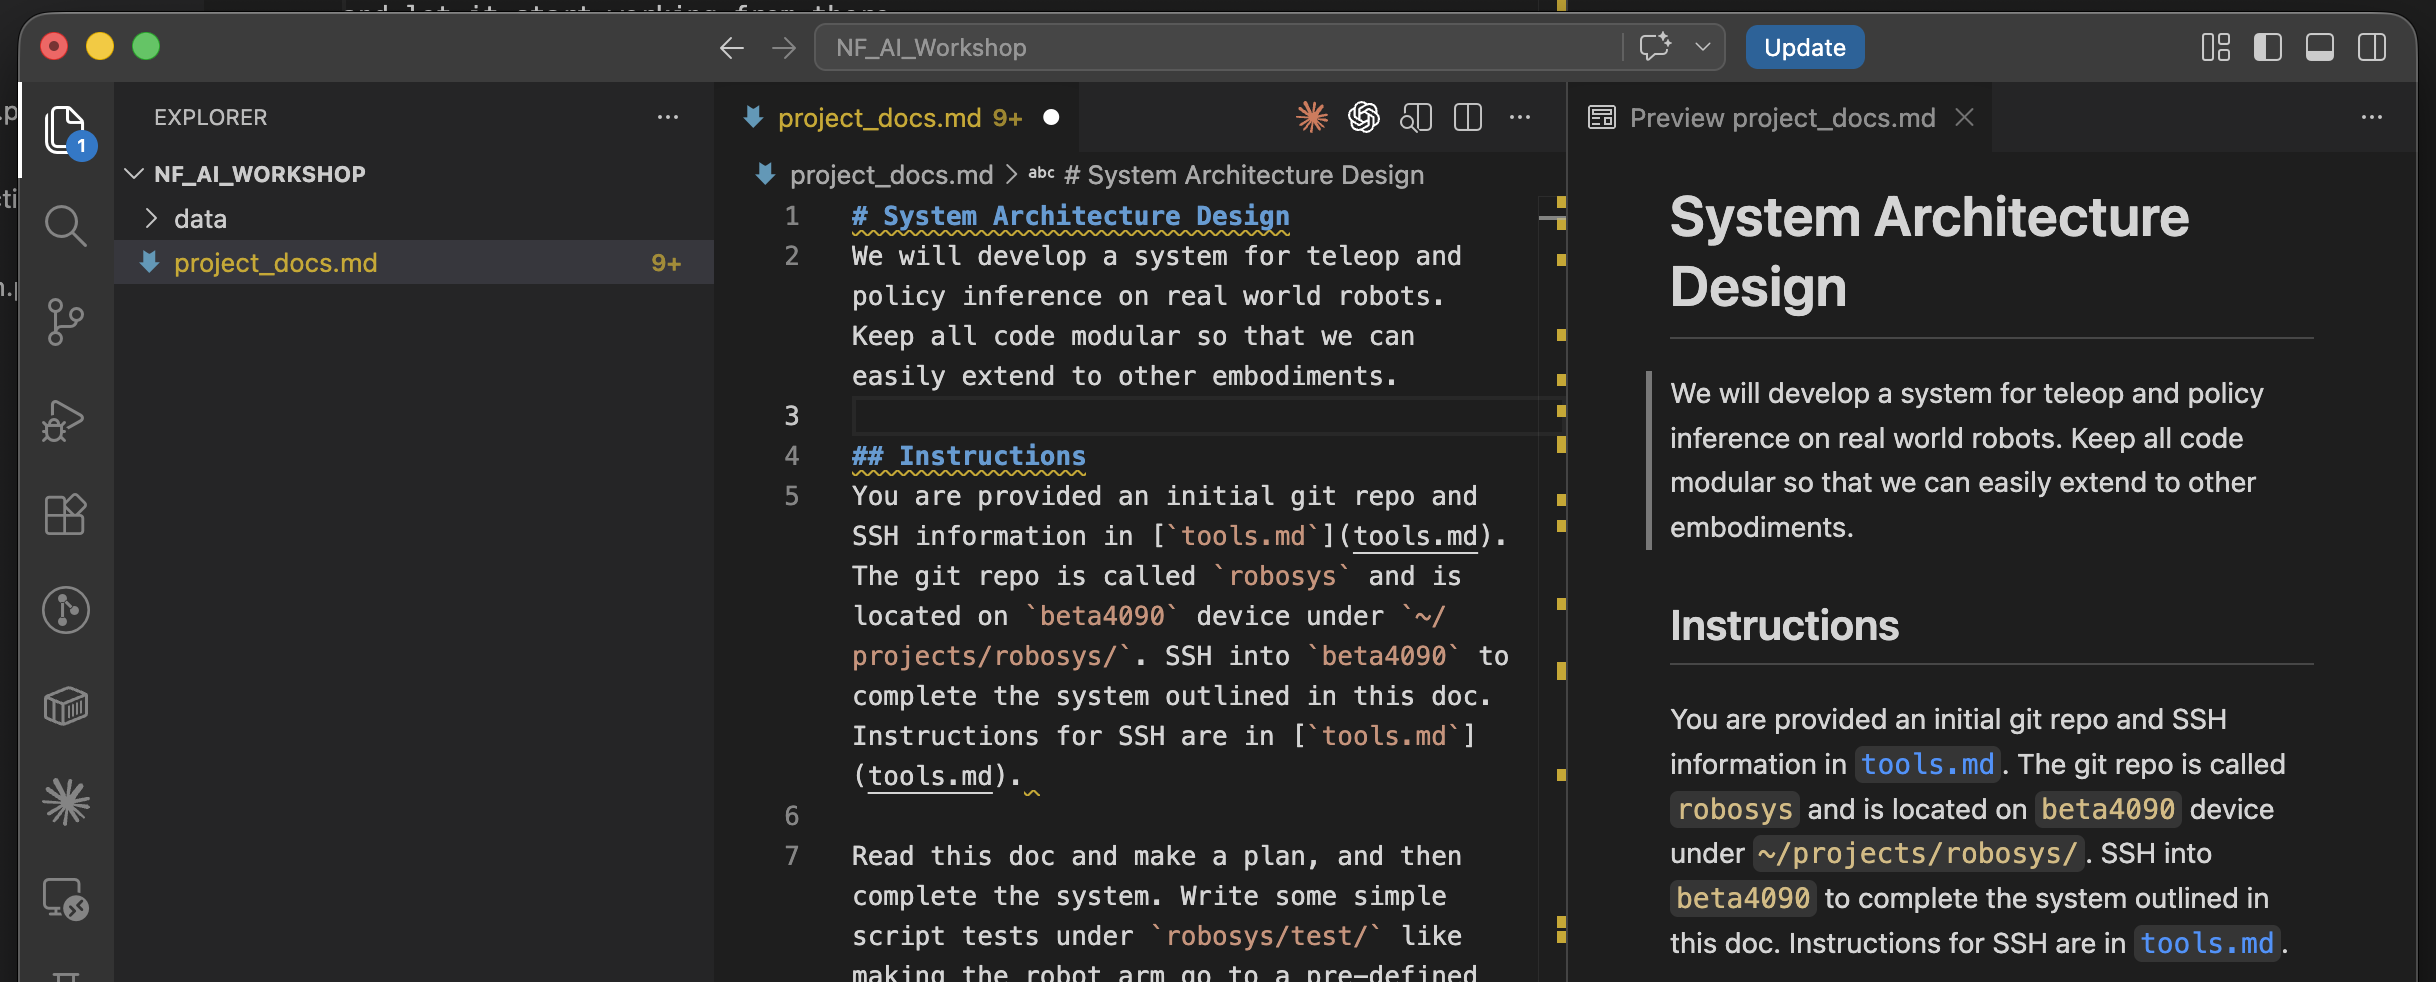
- View the full document here.
These plans are often written in Markdown, which is used to easily format text. Just create a file with the ending .md and start writing.
- This is a formatting cheat sheet.
- You can view formatted text in VS Code by clicking the
magnifying glass bookicon on the top-right corner of the middle window, near the Claude icon. This will pull up a preview on the right tab, while you write in the left tab.
